

Shimano and SRAM have dominated the electronic road shifting market for decades. But now, a Chinese brand is trying to compete with the two giants. The WheelTop EDS TX comes with a more affordable price and some interesting technical solutions. But can it compete with the big names in everyday use? After four months and 2,000 km, the answer is no longer based only on first impressions.
We introduced WheelTop’s EDS TX groupset this spring, before building the project bike. As I wrote earlier, this was the component I was most skeptical about.
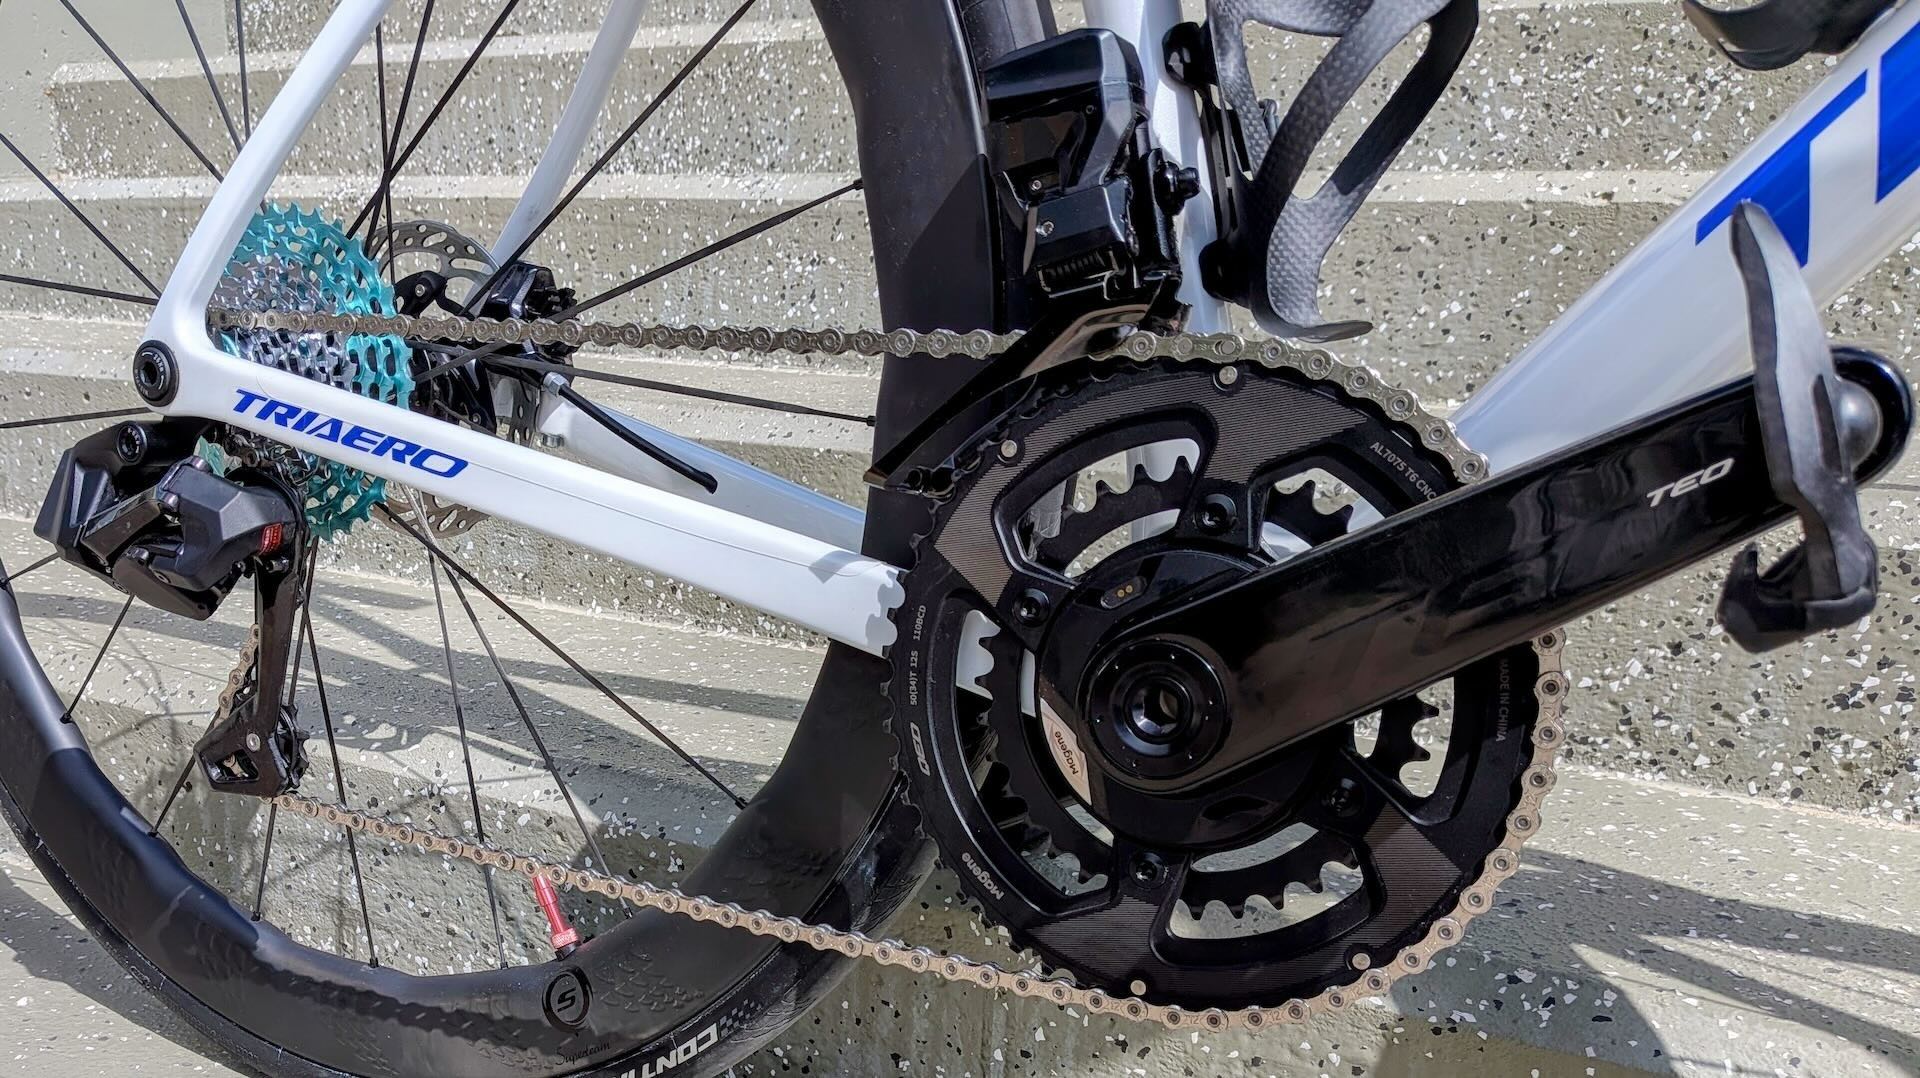
I had some fears, to be honest. The front derailleur could drop the chain and damage the frame, or the rear derailleur could shift the chain past the cassette into the spokes and break a few carbon spokes. None of these happened during four months and 2,000 km of riding, and the system has worked reliably.
Front derailleur installation and setup
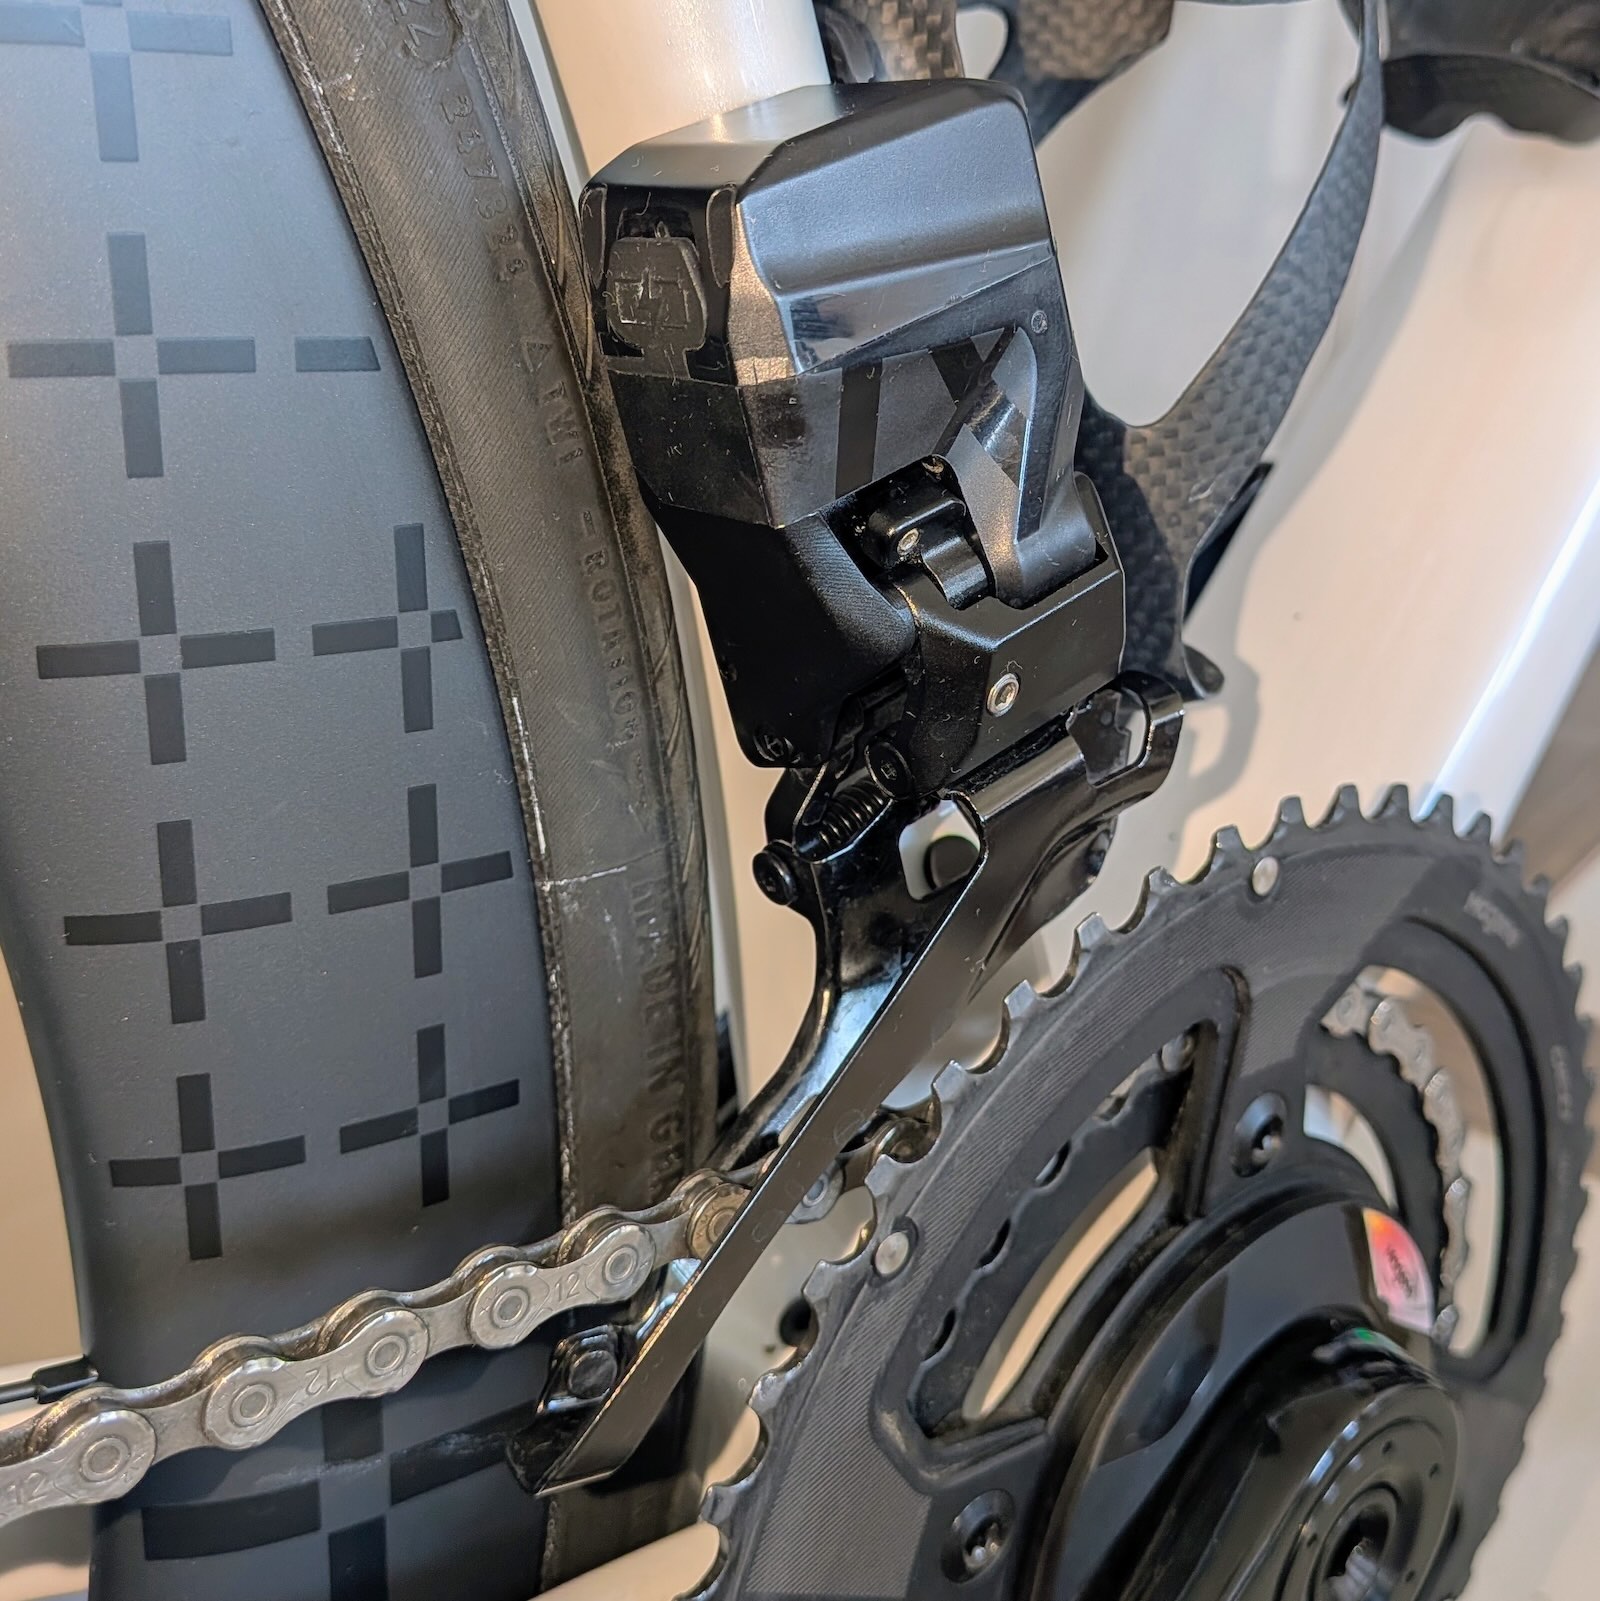
The WheelTop EDS TX is a wireless system, and the front derailleur uses a braze-on mount. There is a support screw on the back, which rests against the frame mount and stabilizes the derailleur. Unfortunately, there is no way around installing and removing the derailleur several times while fine-tuning the position of the support screw.
It is worth paying attention to the support screw while tightening the derailleur mounting bolt, making sure it rests against the frame mount. The derailleur tends to rotate slightly while tightening the bolt, and the cage may no longer be parallel with the chainrings. I had to set the derailleur height by eye because the setup sticker came off by itself. The front of the cage should be positioned 1-3 mm above the teeth of the large chainring.
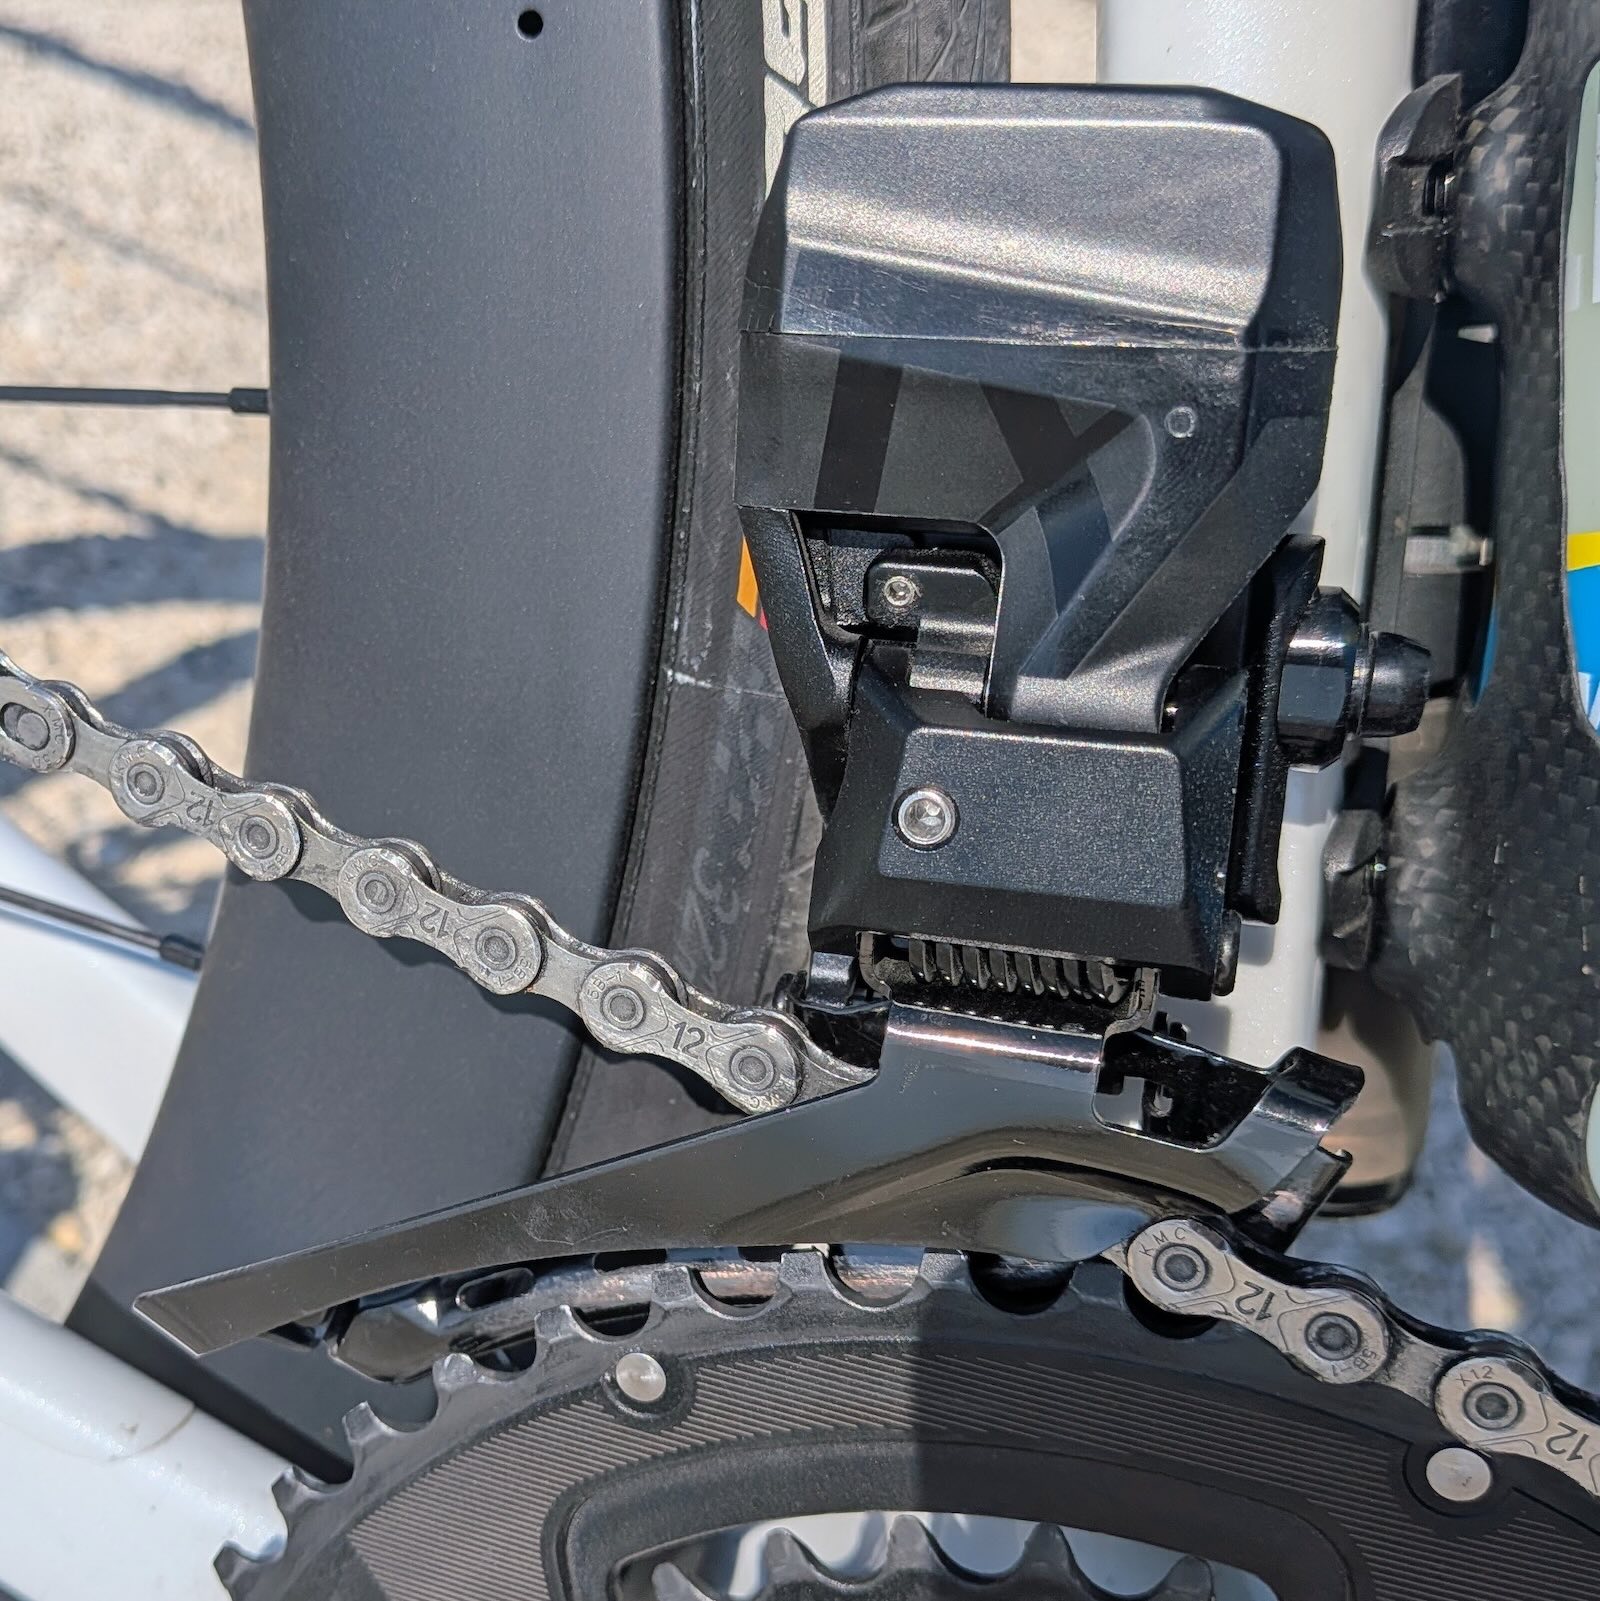
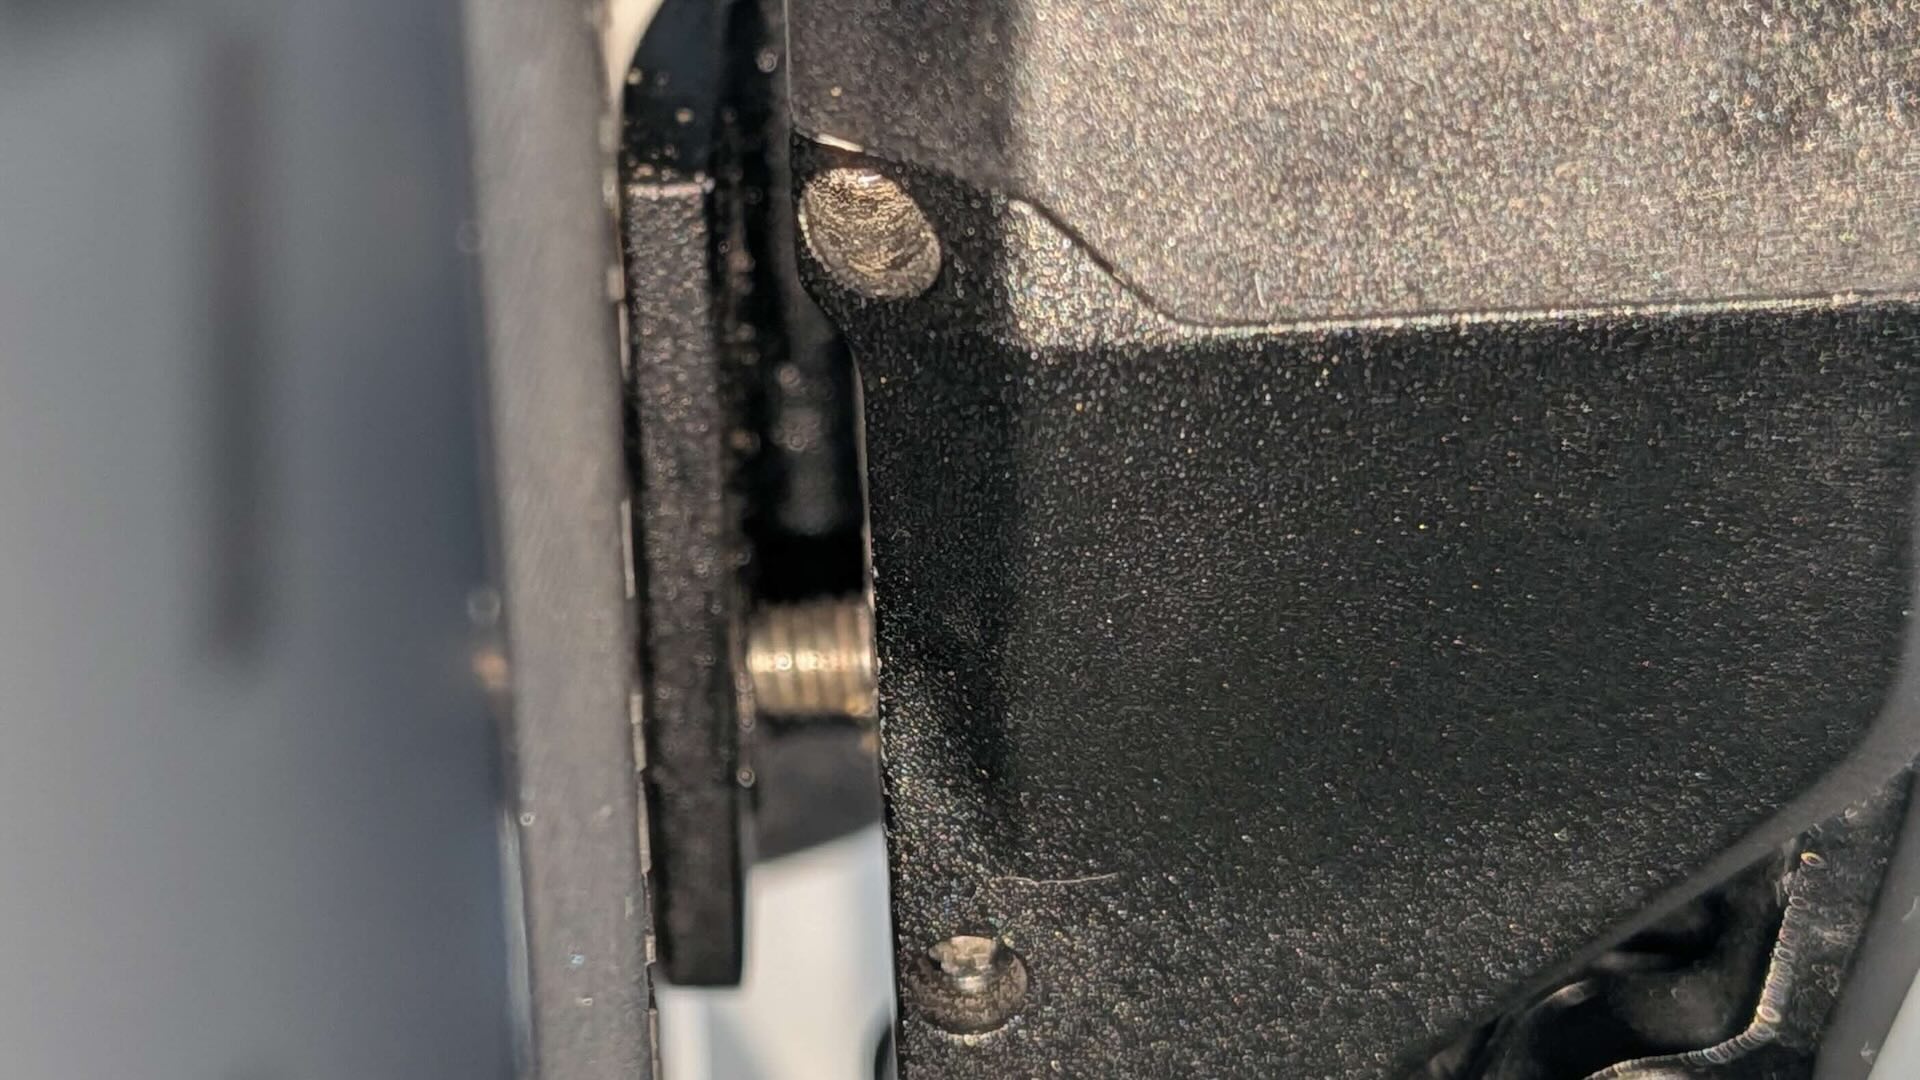
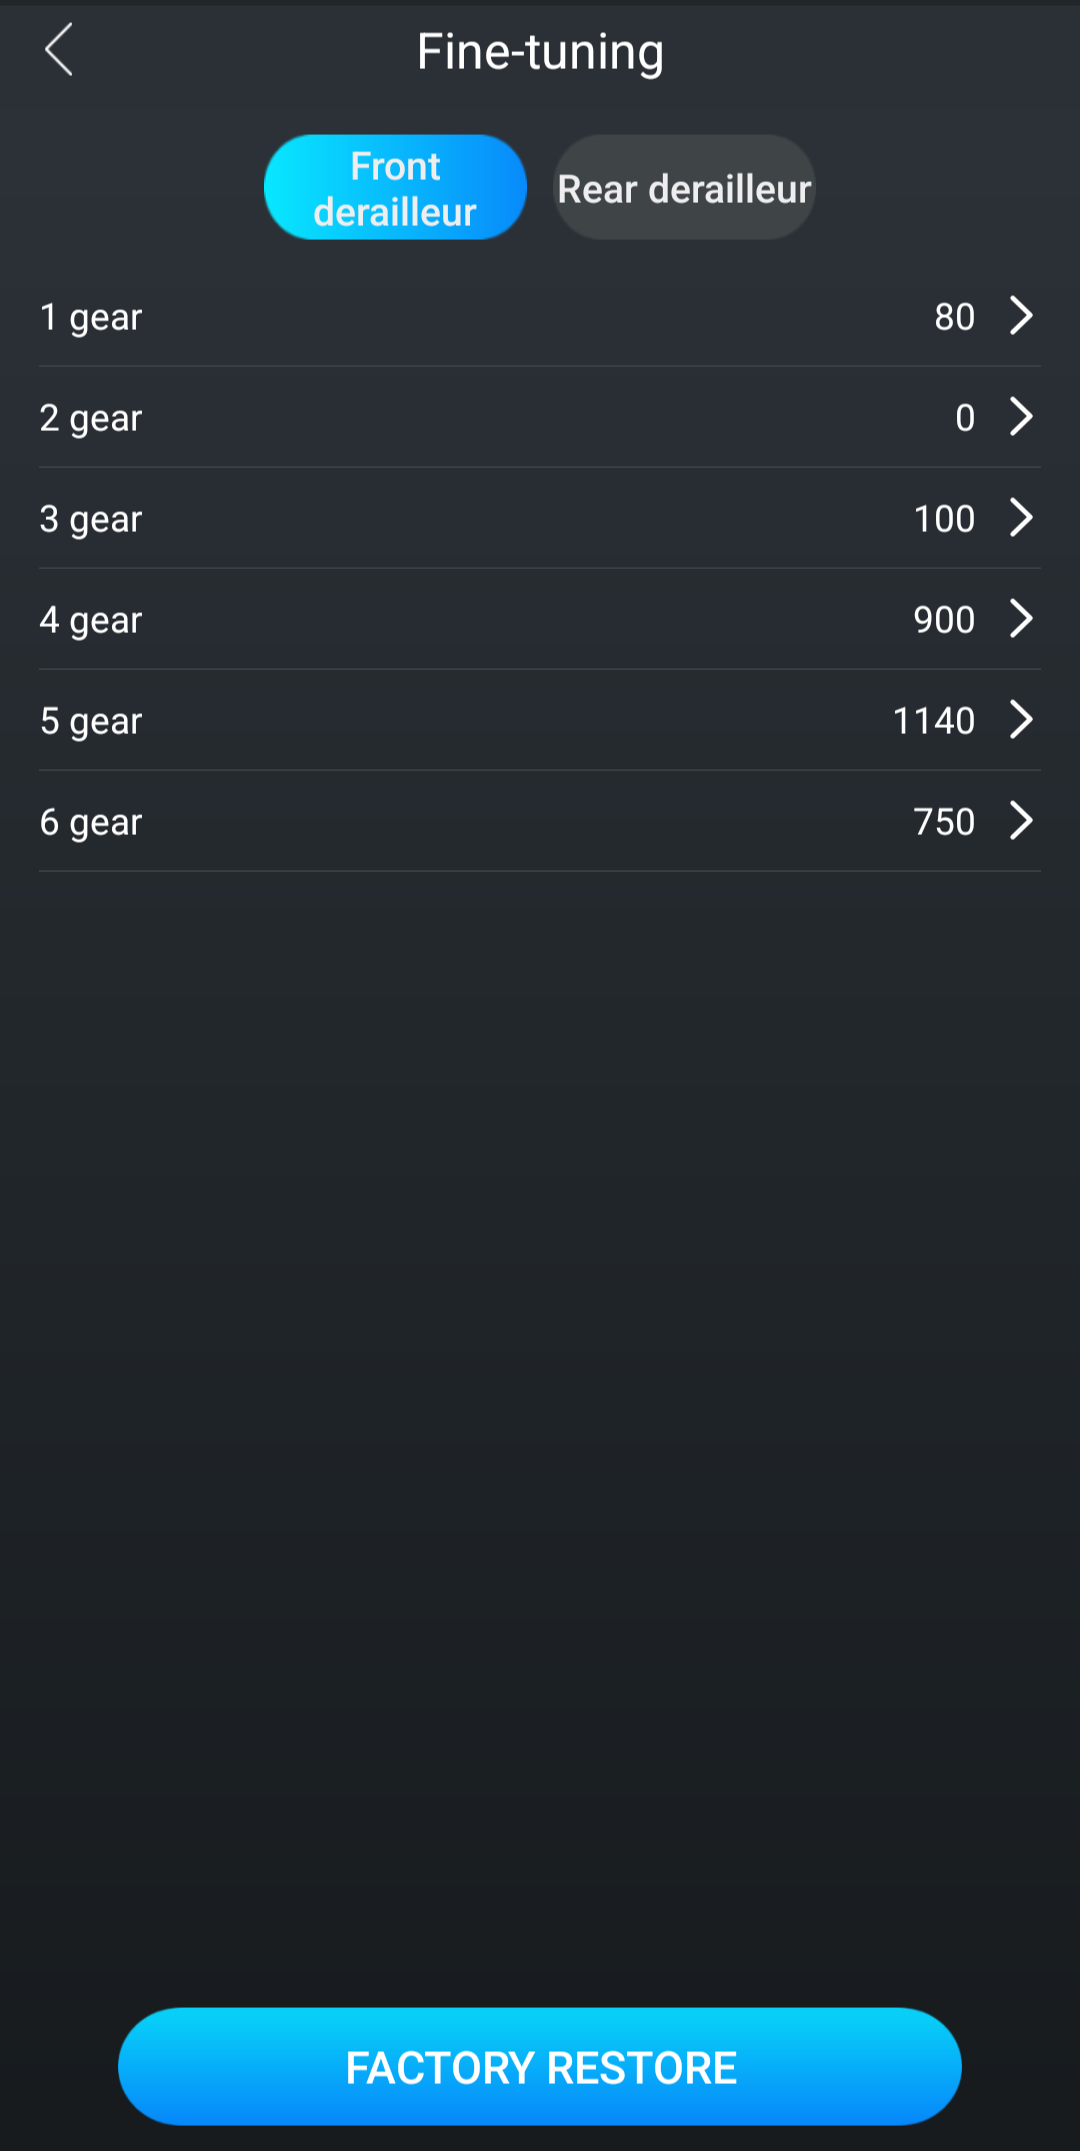
On the outer side of the front derailleur, there is an Allen screw used to set the zero position, which corresponds to the outer position on the large chainring. Everything else can be adjusted in the WheelTop App. The front derailleur has six positions, but the app does not explain which one does what.
The answer finally came from the WheelTop EDS Facebook group a few weeks later. ‘1 gear’ is the upshift position, while 2 and 3 are the outer and inner positions for the big chainring. ‘6 gear’ is the downshift position, while 4 and 5 are the two positions for the small chainring. After an upshift or downshift, the derailleur moves to either position 2 or 3, or 4 or 5, after a short delay, depending on the current rear gear.
I adjusted several positions until the chain no longer touched the cage plate in any gear combination. For example, if the chain touches the inner cage plate in 34×34, the ‘5 gear’ value has to be increased in the app until the position is perfect. Front derailleur trimming is automatic. With a 12-speed cassette, it happens between the 6th and 7th rear gears on both chainrings, and this is not user-adjustable.
Rear derailleur installation and setup
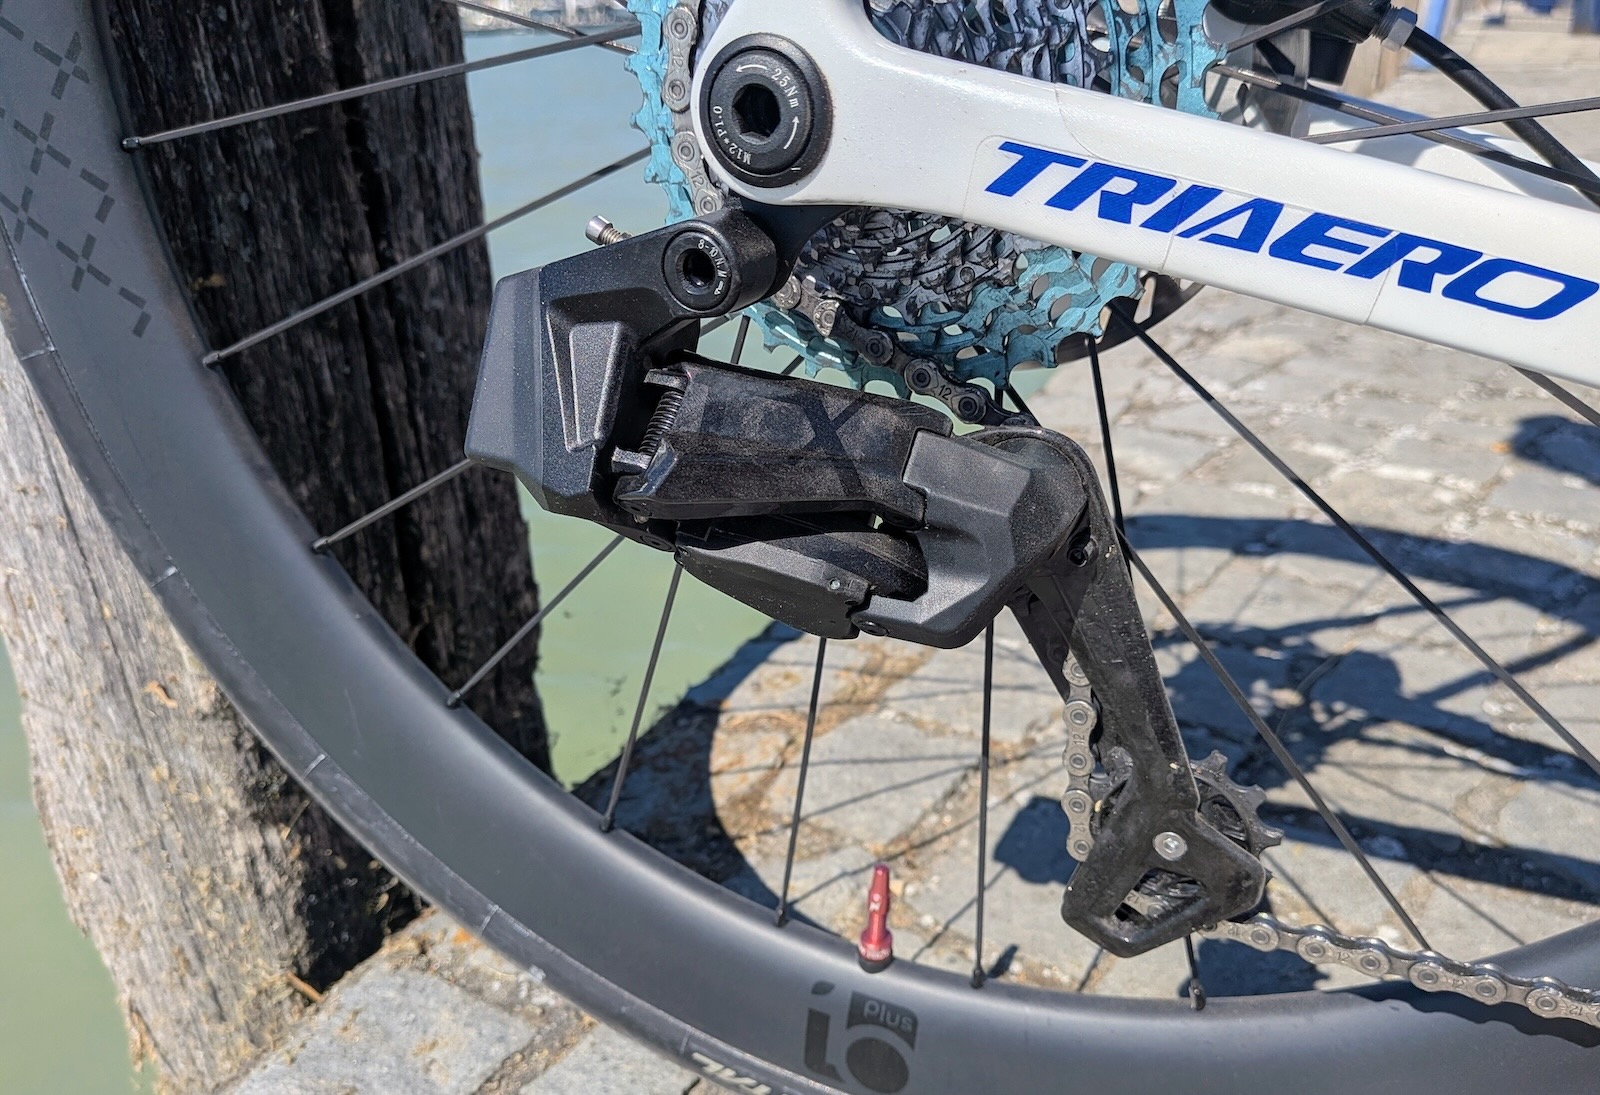
The EDS TX rear derailleur mounts to a conventional threaded derailleur hanger. Limit screws have to be adjusted by first setting the derailleur correctly at both ends of the cassette. Then turn each screw in until it touches the stop and back it out by a quarter turn. The B-screw is used to set the distance between the largest cog and the upper pulley. The recommended distance between them is 8-10 mm.
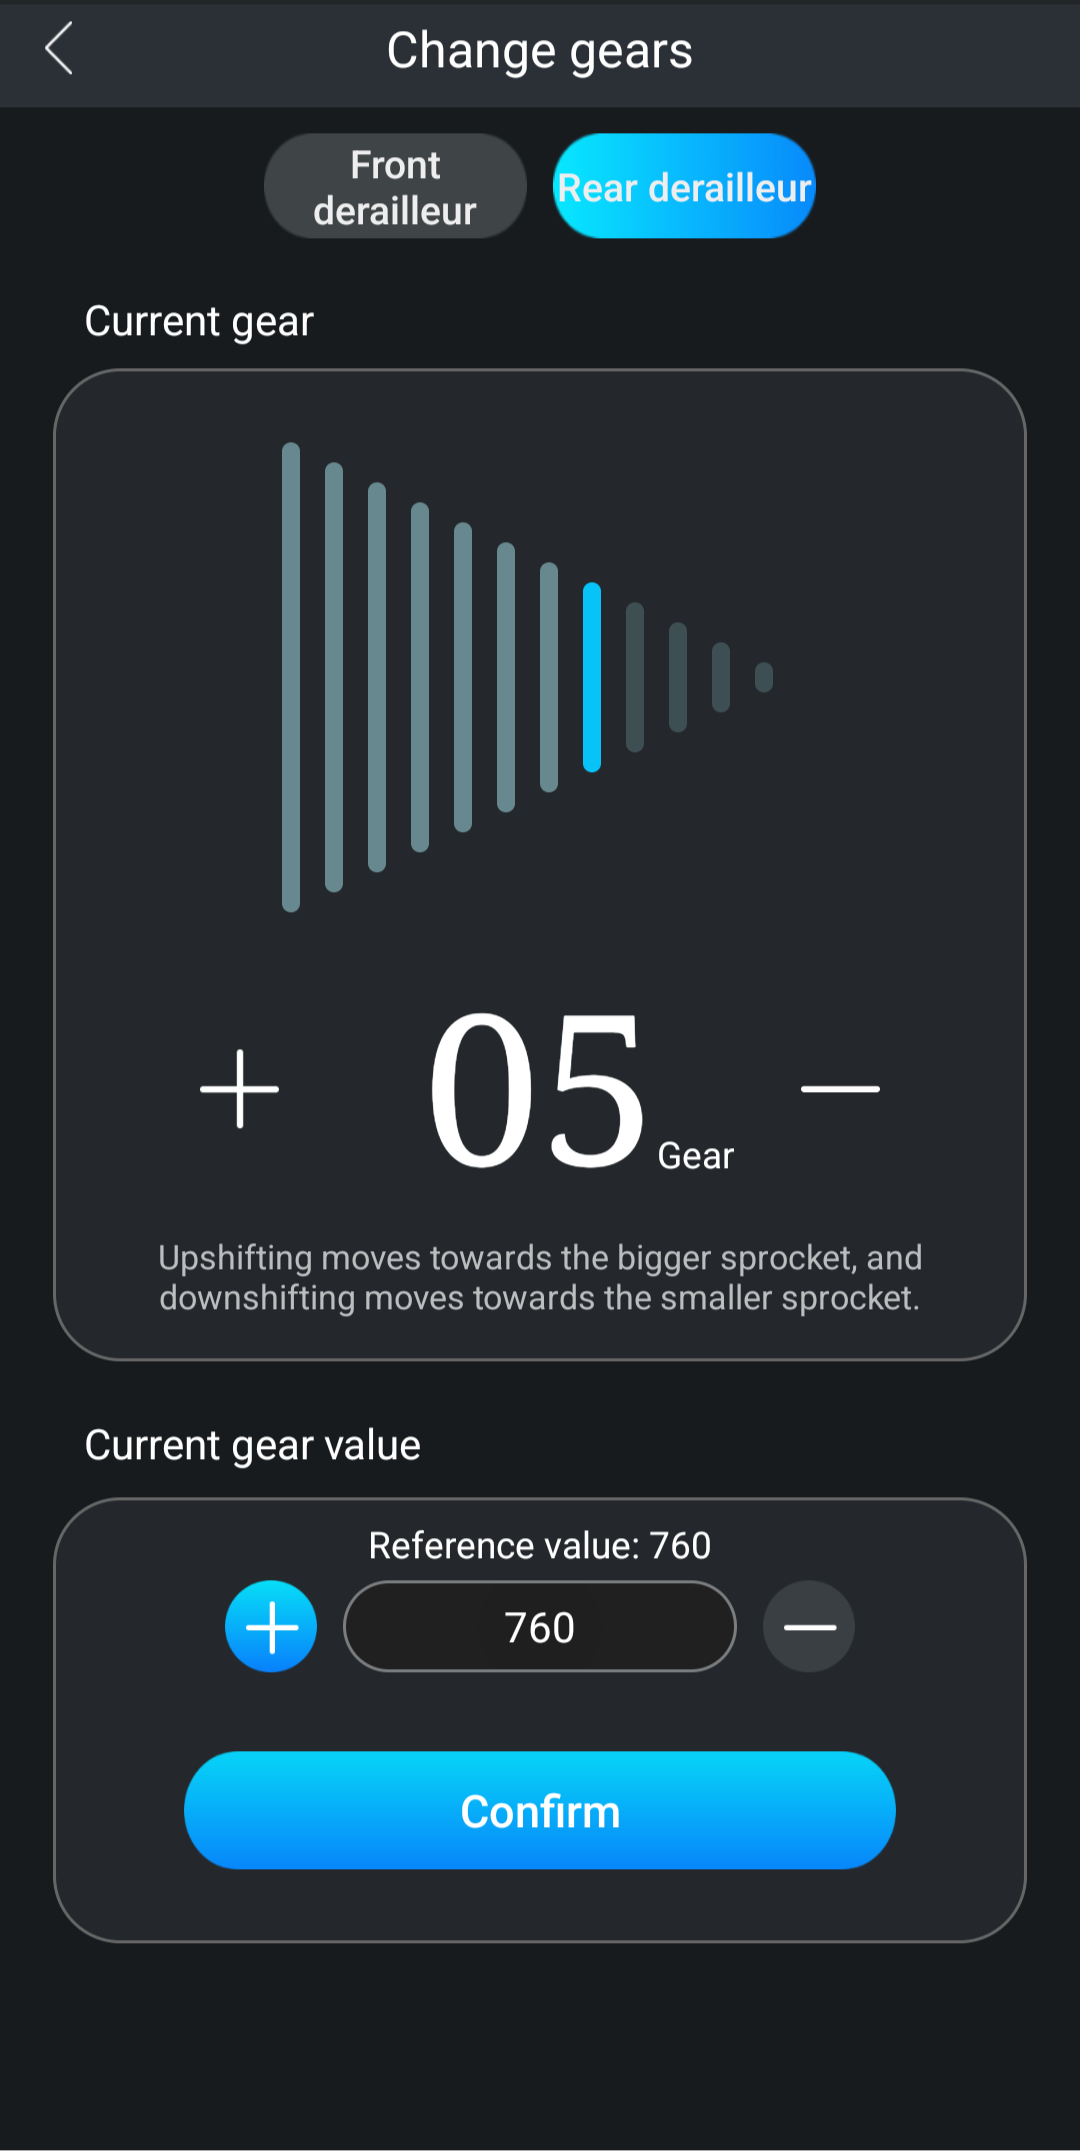
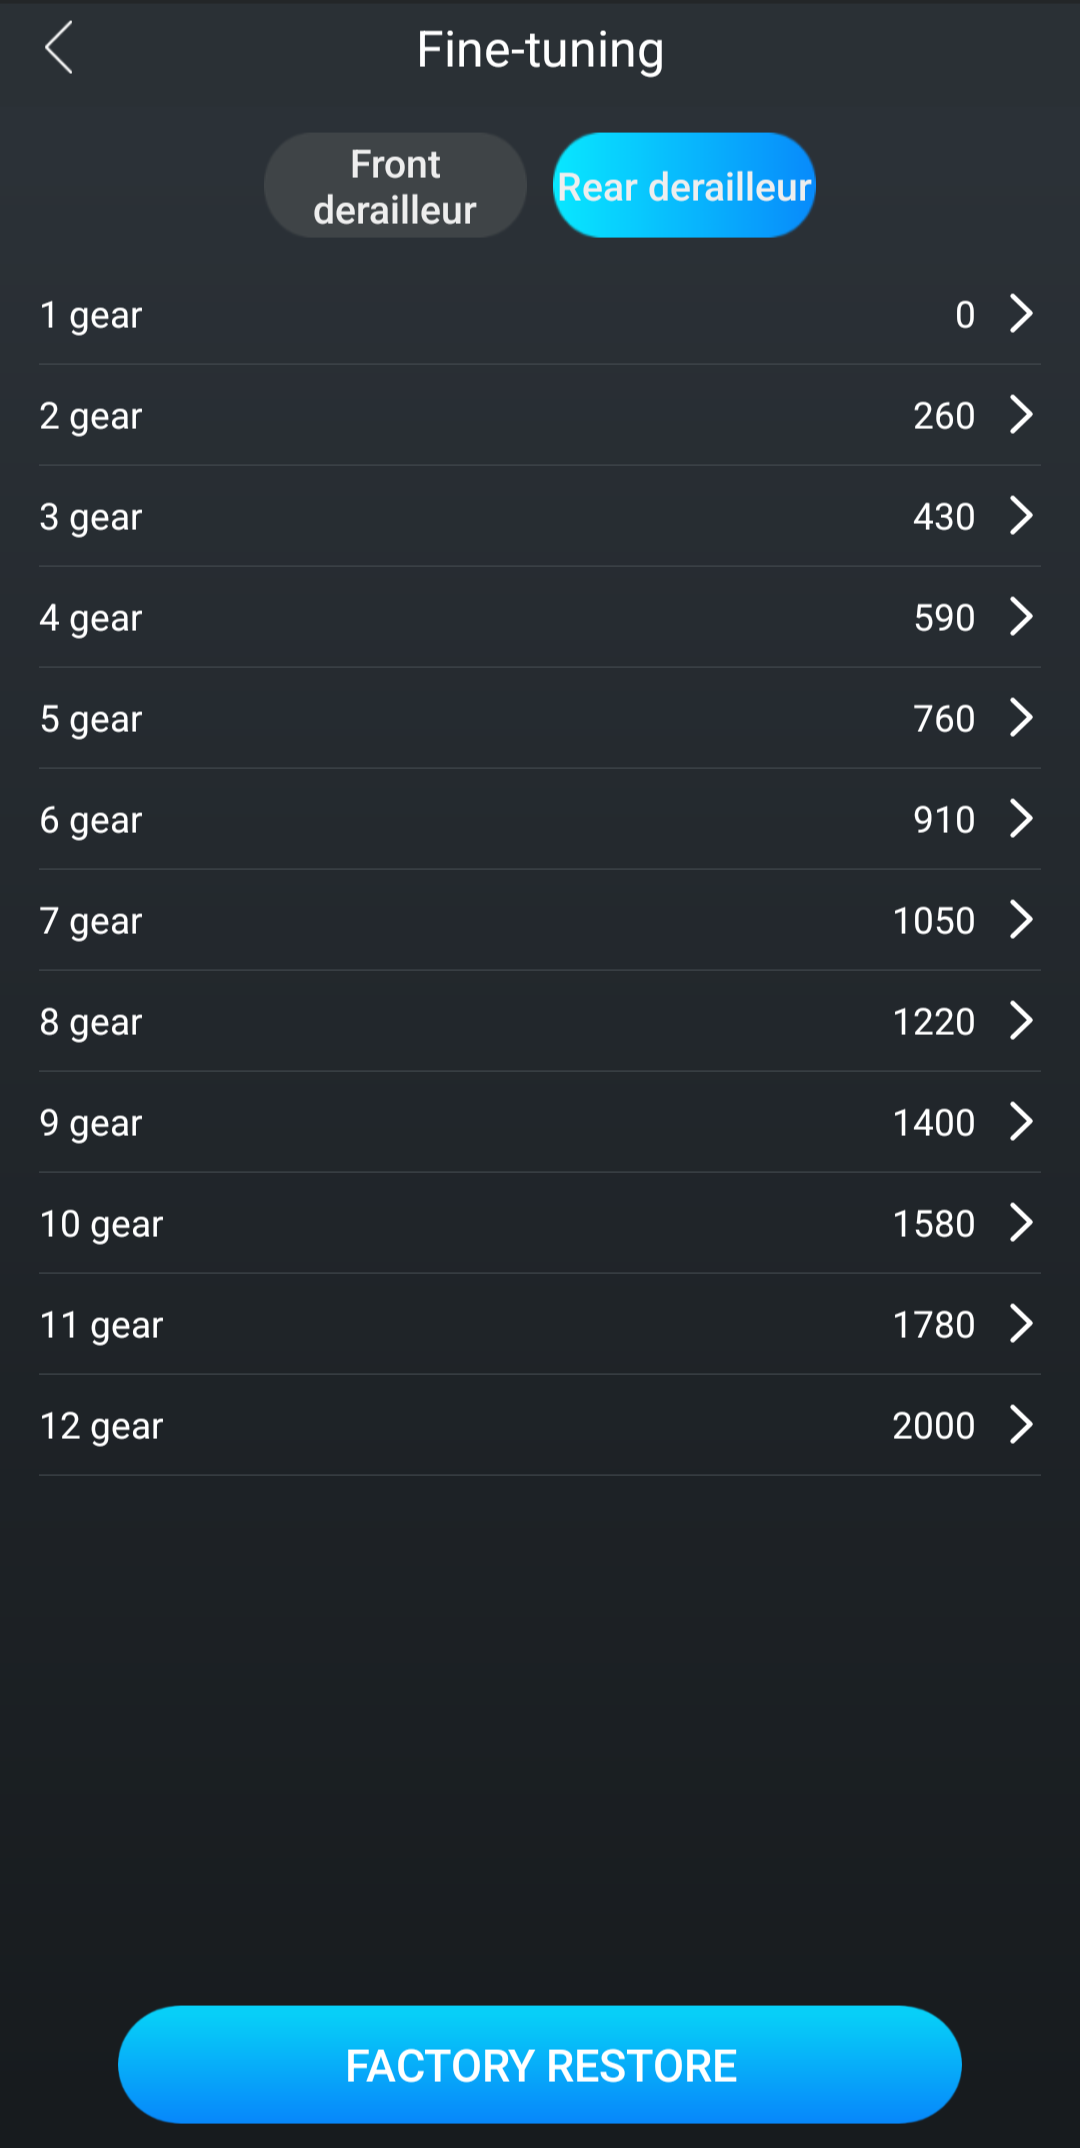
The rear derailleur has to be set up on the big chainring. In the app, first we have to select the correct number of cassette gears. Then we can set the initial position on the smallest cog. Before adjusting this value, make sure to shift back to the smallest cog. After that, if needed, the exact position of each gear can be fine-tuned in the app.
The positions can be adjusted in single-step increments. On my system, the values range from 0 to 1140 for the front derailleur and from 0 to 2000 for the rear derailleur. When setting them up, it is better to start with larger increments. Then, if needed, fine-tune them one step at a time until the shifting feels perfect in both directions.
It’s also important to note that if we change a value, we have to shift away and then back again for the derailleur to move to the new position. Then we can check if the adjustment is good enough.
The biggest compromise: total capacity of the rear derailleur
I clearly wanted a 2×12-speed drivetrain with a 50-34/11-34 setup. A modern system should be able to handle this. During setup, I realized that the EDS TX rear derailleur is only rated for a 36-tooth total capacity. This means that with a 50-34T crankset, mathematically only an 11-30T cassette fits within this limit. That’s quite limited in 2026.
For comparison, the 105 Di2 has a total capacity of 41T, the Ultegra Di2 39T, and the Dura-Ace Di2 37T. But the Japanese system clearly has some headroom. For example, Demi Vollering used a 54-36/11-34 setup, which means a total capacity of 41T in practice!
With the recommended pulley-to-cog distance, the chain was hanging loose on the small chainring and the 3rd-4th cogs. The two smallest cogs are disabled on the small chainring because of cross-chaining. As a solution, with the shortest possible chain, I had to set a 20-22 mm pulley-to-cog distance in the 50×34 combination. This is not ideal for shifting quality.
I don’t really understand why, because the cage of the EDS TX rear derailleur is 5 mm longer than the cage of the 41T-capacity Tiagra, and the larger 12T pulleys increase its relative length. Of course, total capacity isn’t determined only by cage dimensions, so the reason for this limitation is probably somewhere in the derailleur’s geometry.
WheelTop’s own approach to shifter controls
The WheelTop EDS TX levers don’t really copy the design of any of the major brands. The front bump is relatively small, and the carbon brake levers are bent outwards, in my opinion more than necessary. I really like the rubber covers, though. They feel nice in the hand and are not as stretchy as Shimano’s, so they also seem promising in terms of durability.
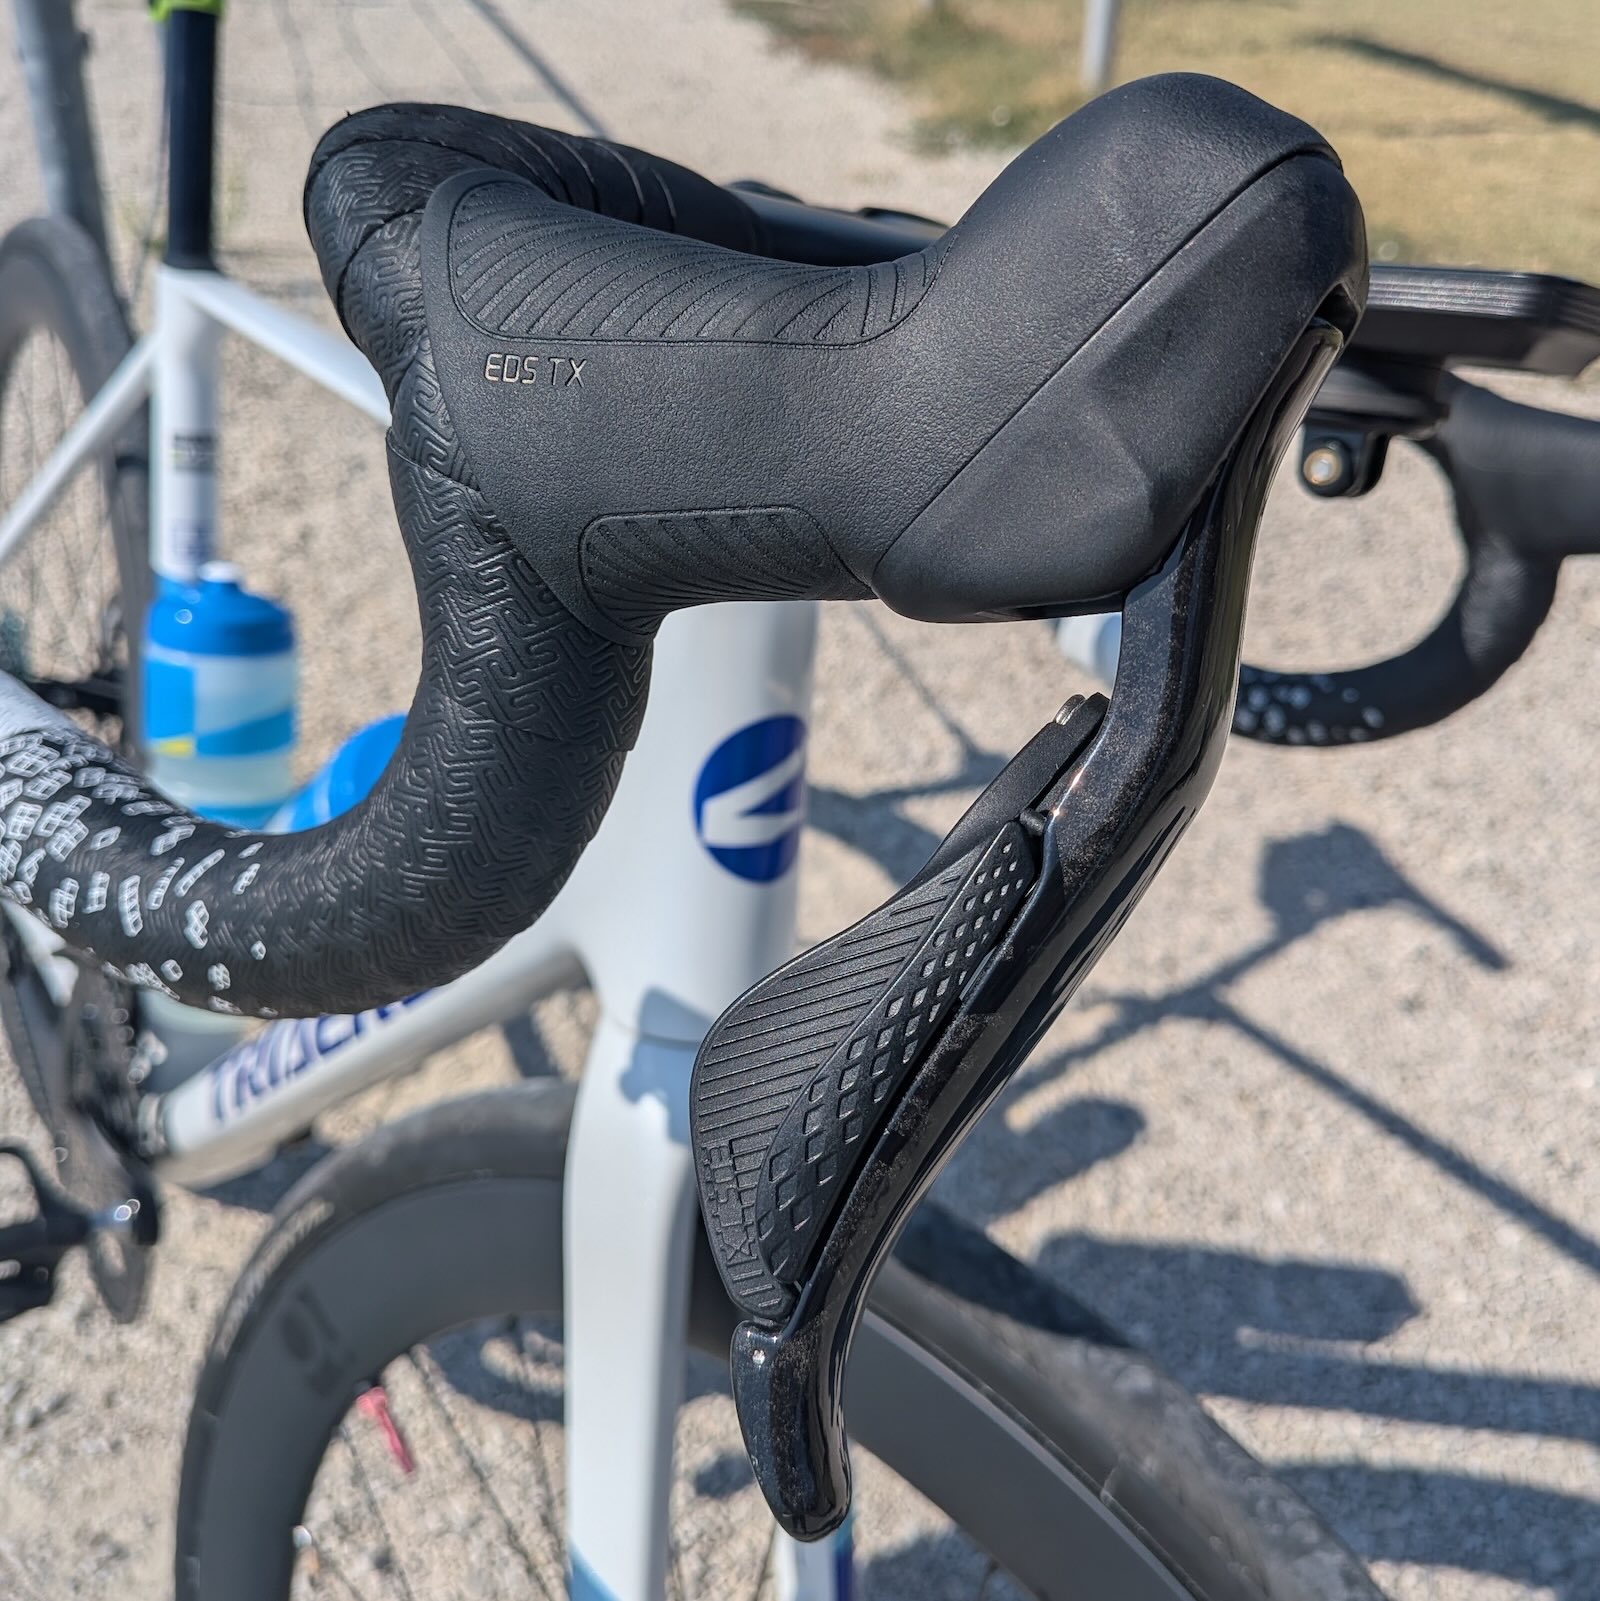
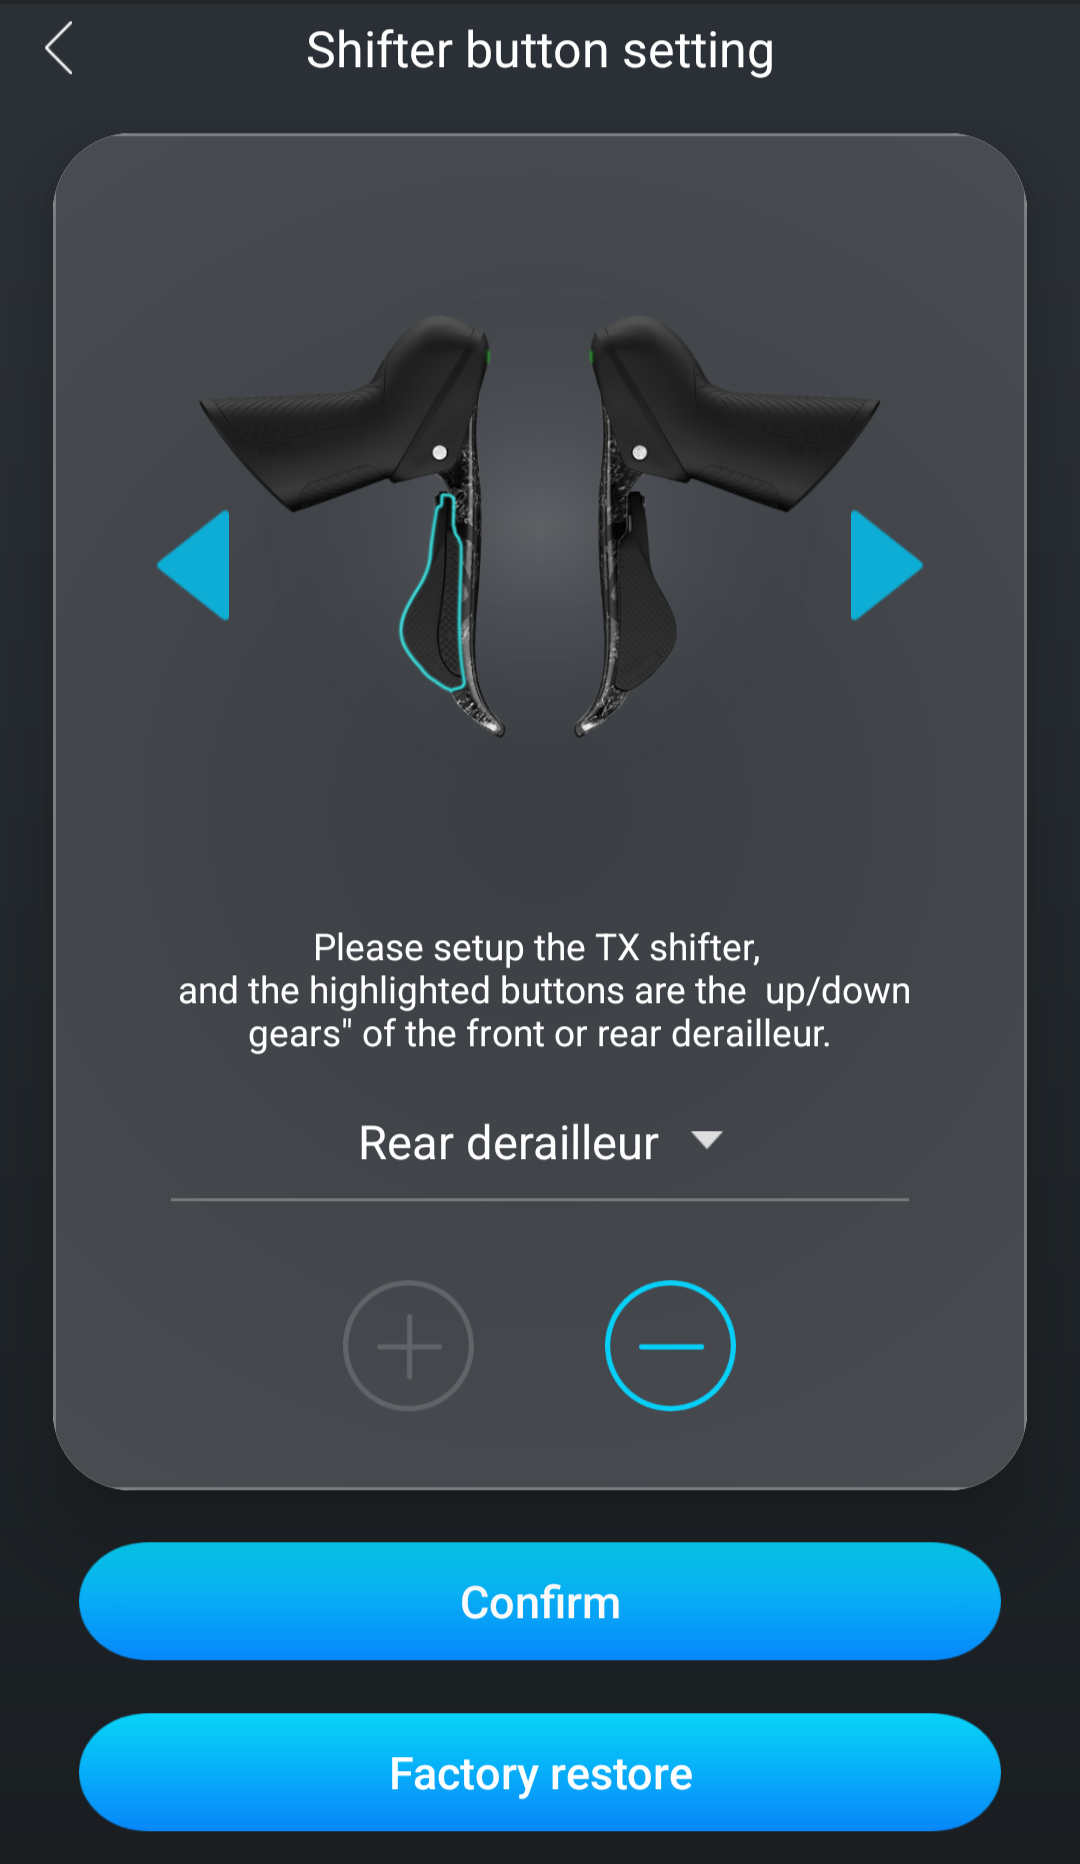
The left lever has only one button, while the right lever has two. It’s logical, because the front derailleur can only shift in one direction from its current position. But we have to know which chainring we are currently using. If we forget during a climb that we have already shifted to the small chainring, we will shift back to the big one, which breaks our rhythm.
By default, on the right lever, the button closer to the rider shifts to a bigger cog. The buttons have a small amount of rotation, pressing the microswitch against the inner side of the brake lever. This gives them a slightly similar feel to mechanical shifters, where the lever itself moves when we shift.
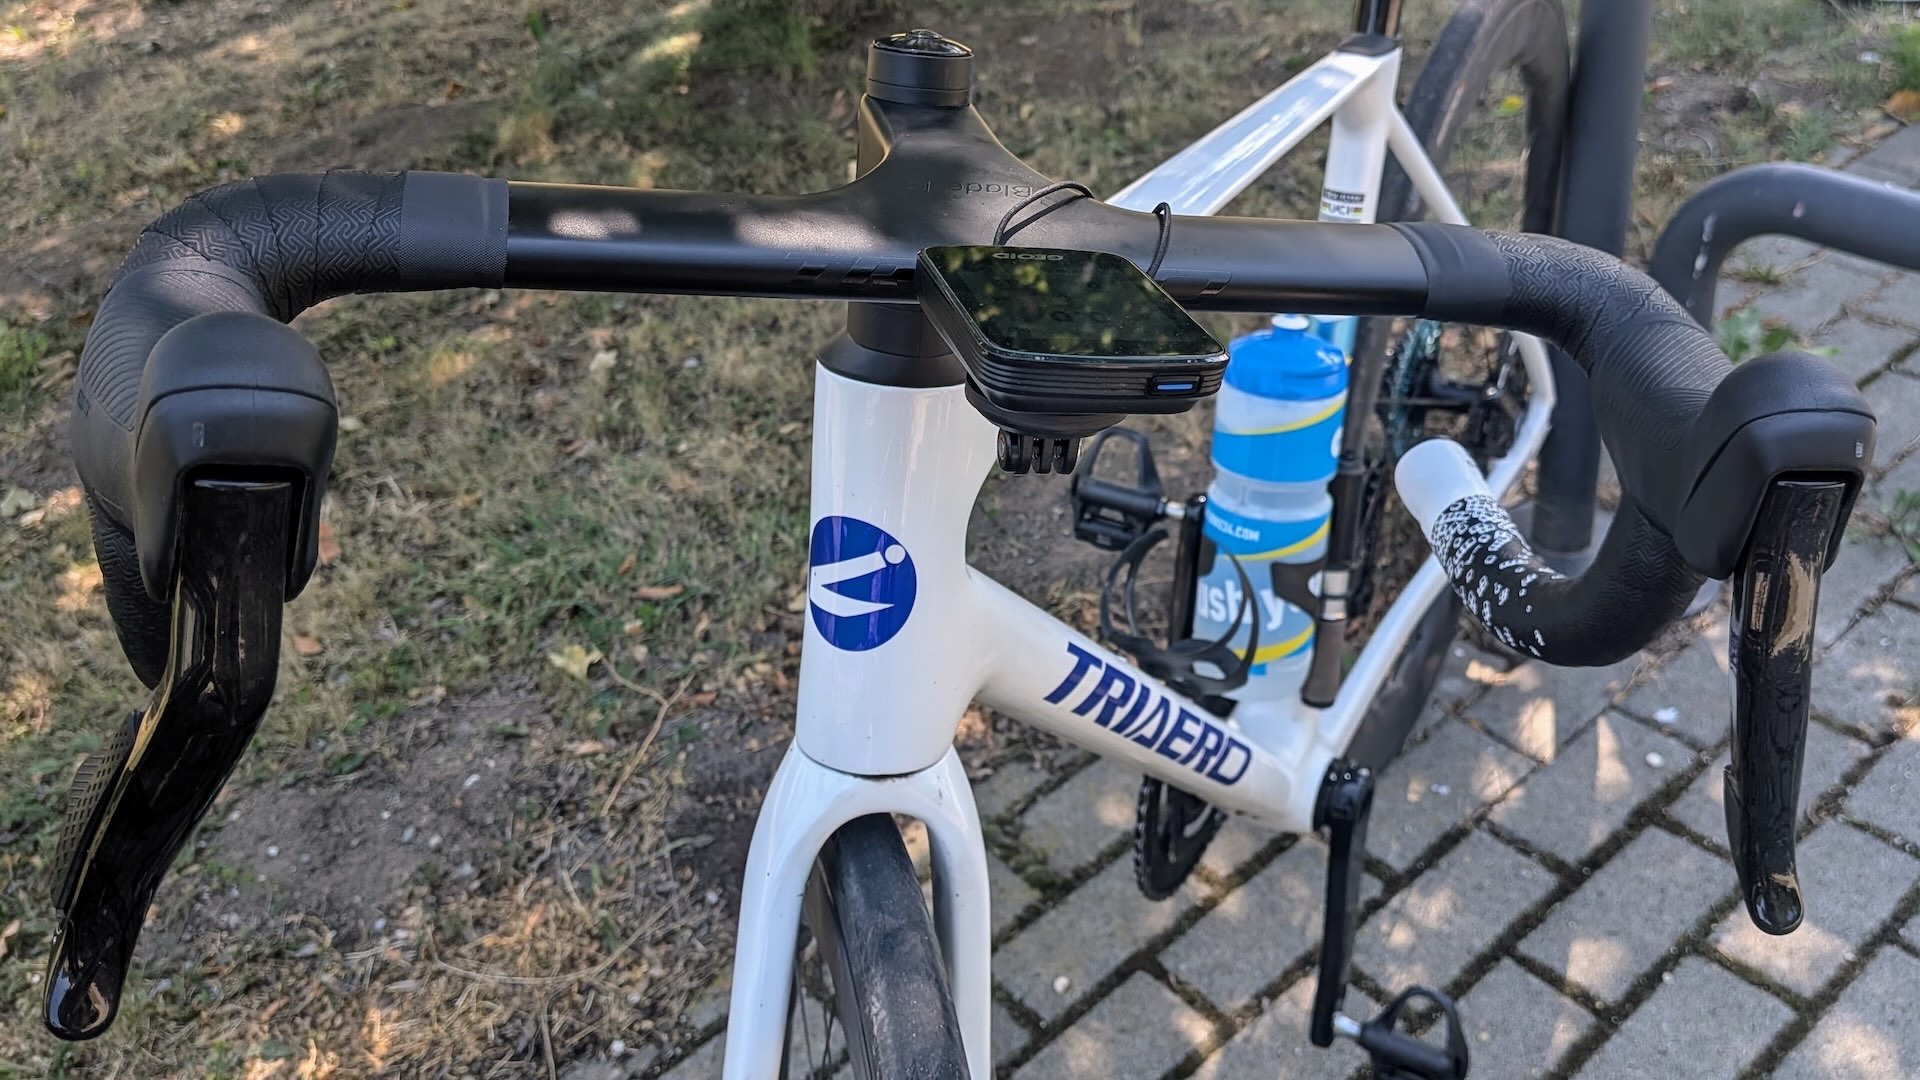
However, the button for shifting to a smaller cog doesn’t work independently. It is integrated into the larger button, so we have to activate two microswitches at the same time. This requires a firm press, but sometimes I press it too gently and wonder why the derailleur doesn’t shift, because with a mechanical system shifting to a smaller cog requires less force.
Better than expected: the brakes
Before installation, the brakes were actually my biggest concern with the WheelTop groupset. This is why I immediately ordered Shimano brake pads, as the calipers are compatible with them. I couldn’t find any information about the material of the stock pads. Based on my experience, I suspect they are metallic.
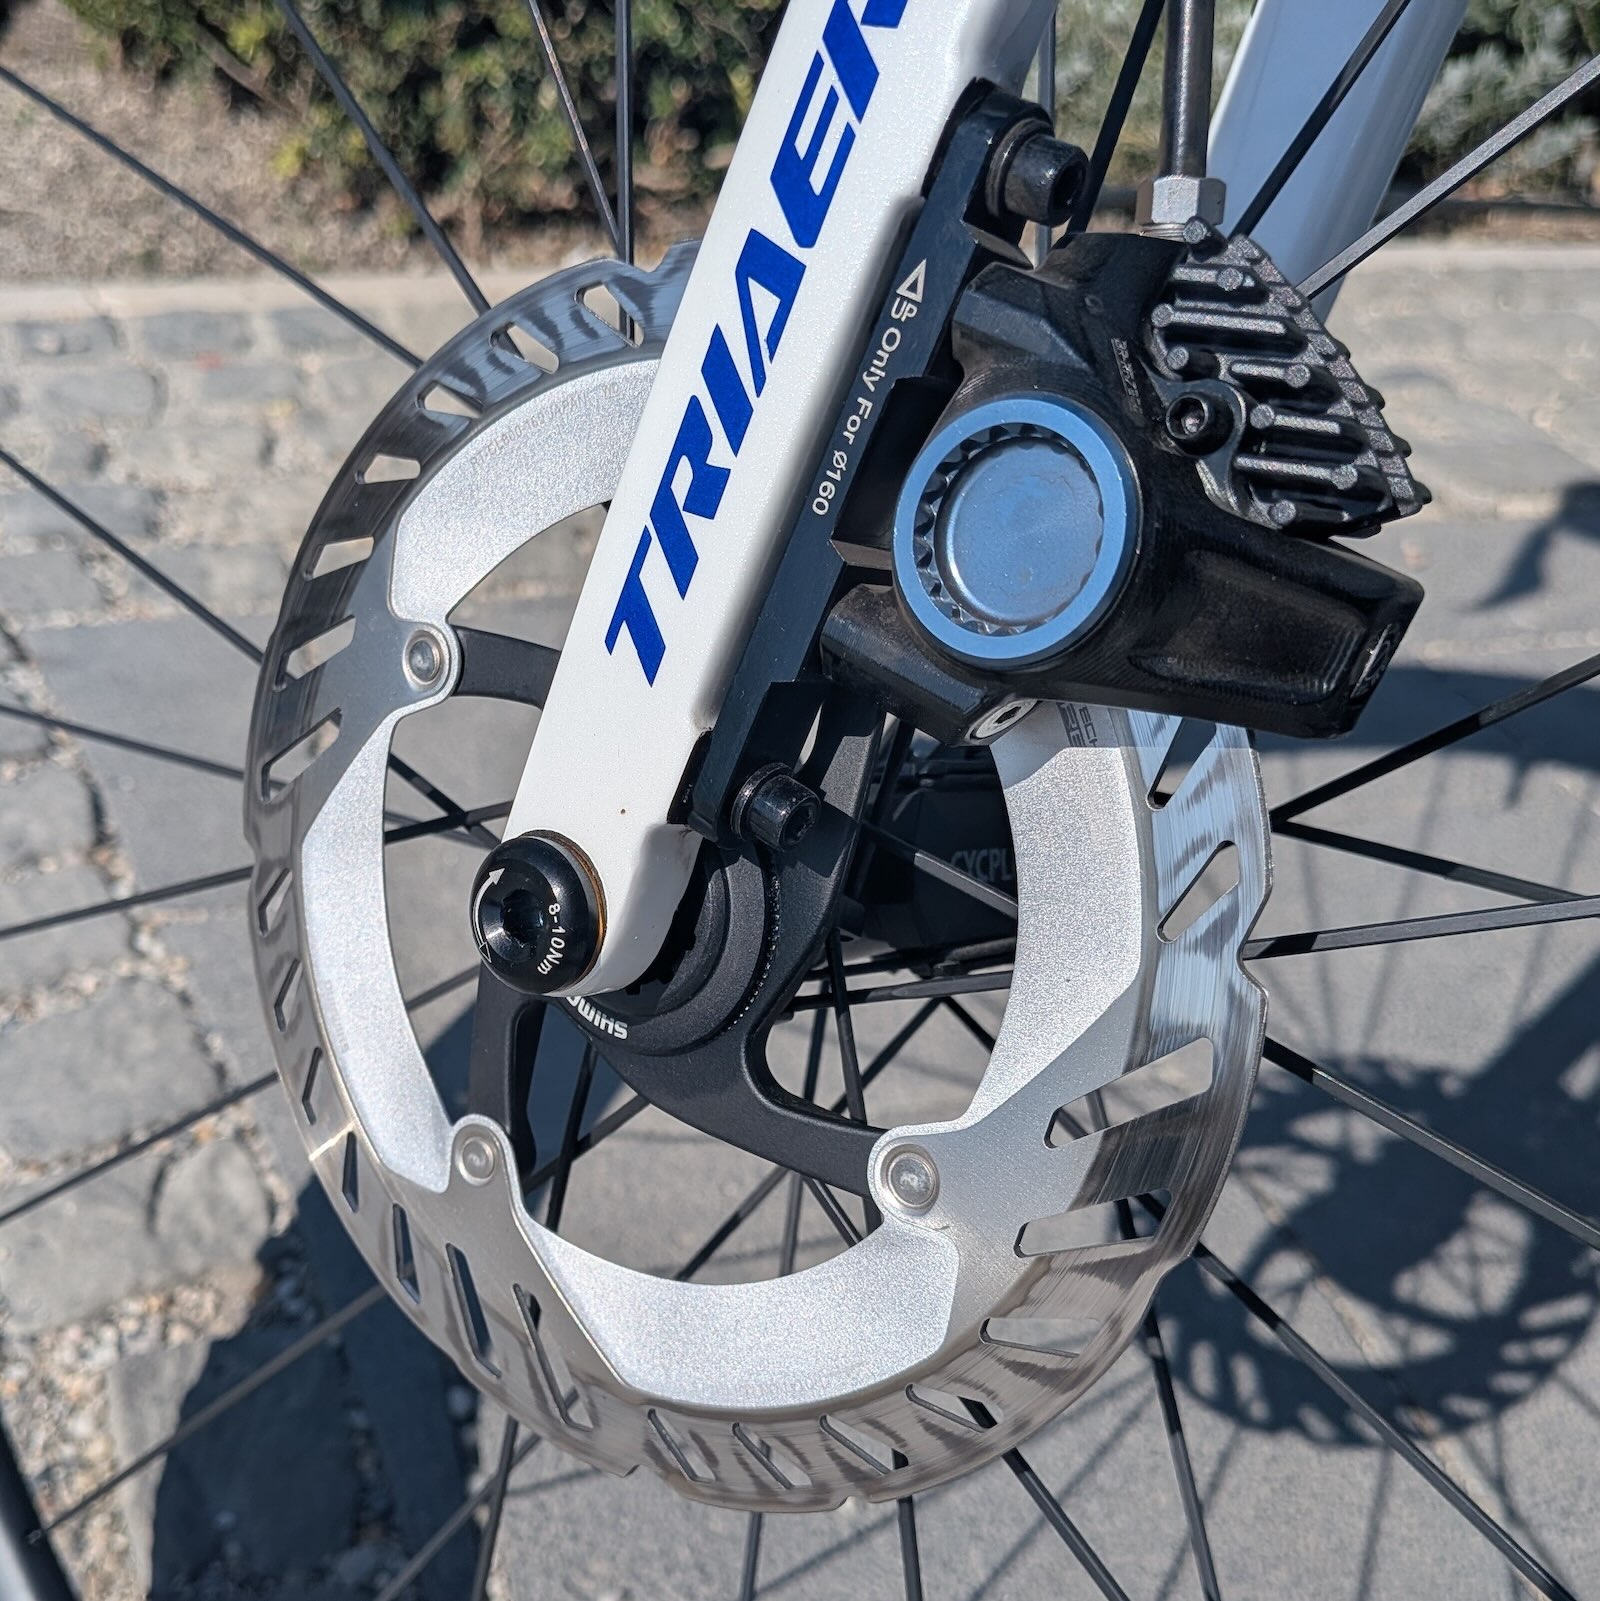
After completing the installation, however, I was pleasantly surprised. The brake hoses came pre-filled with oil. A bleed funnel was also included, so I quickly bled the system using Shimano oil, as the system uses mineral oil. The pressure point has remained stable ever since.
The original WheelTop pads used with the ZRACE rotors required much more aggressive braking than I was used to with Shimano, but they did slow the bike down. After around 1,600 km, I decided to replace both the rotors and the pads because the Chinese rotors started to show some heat discoloration.
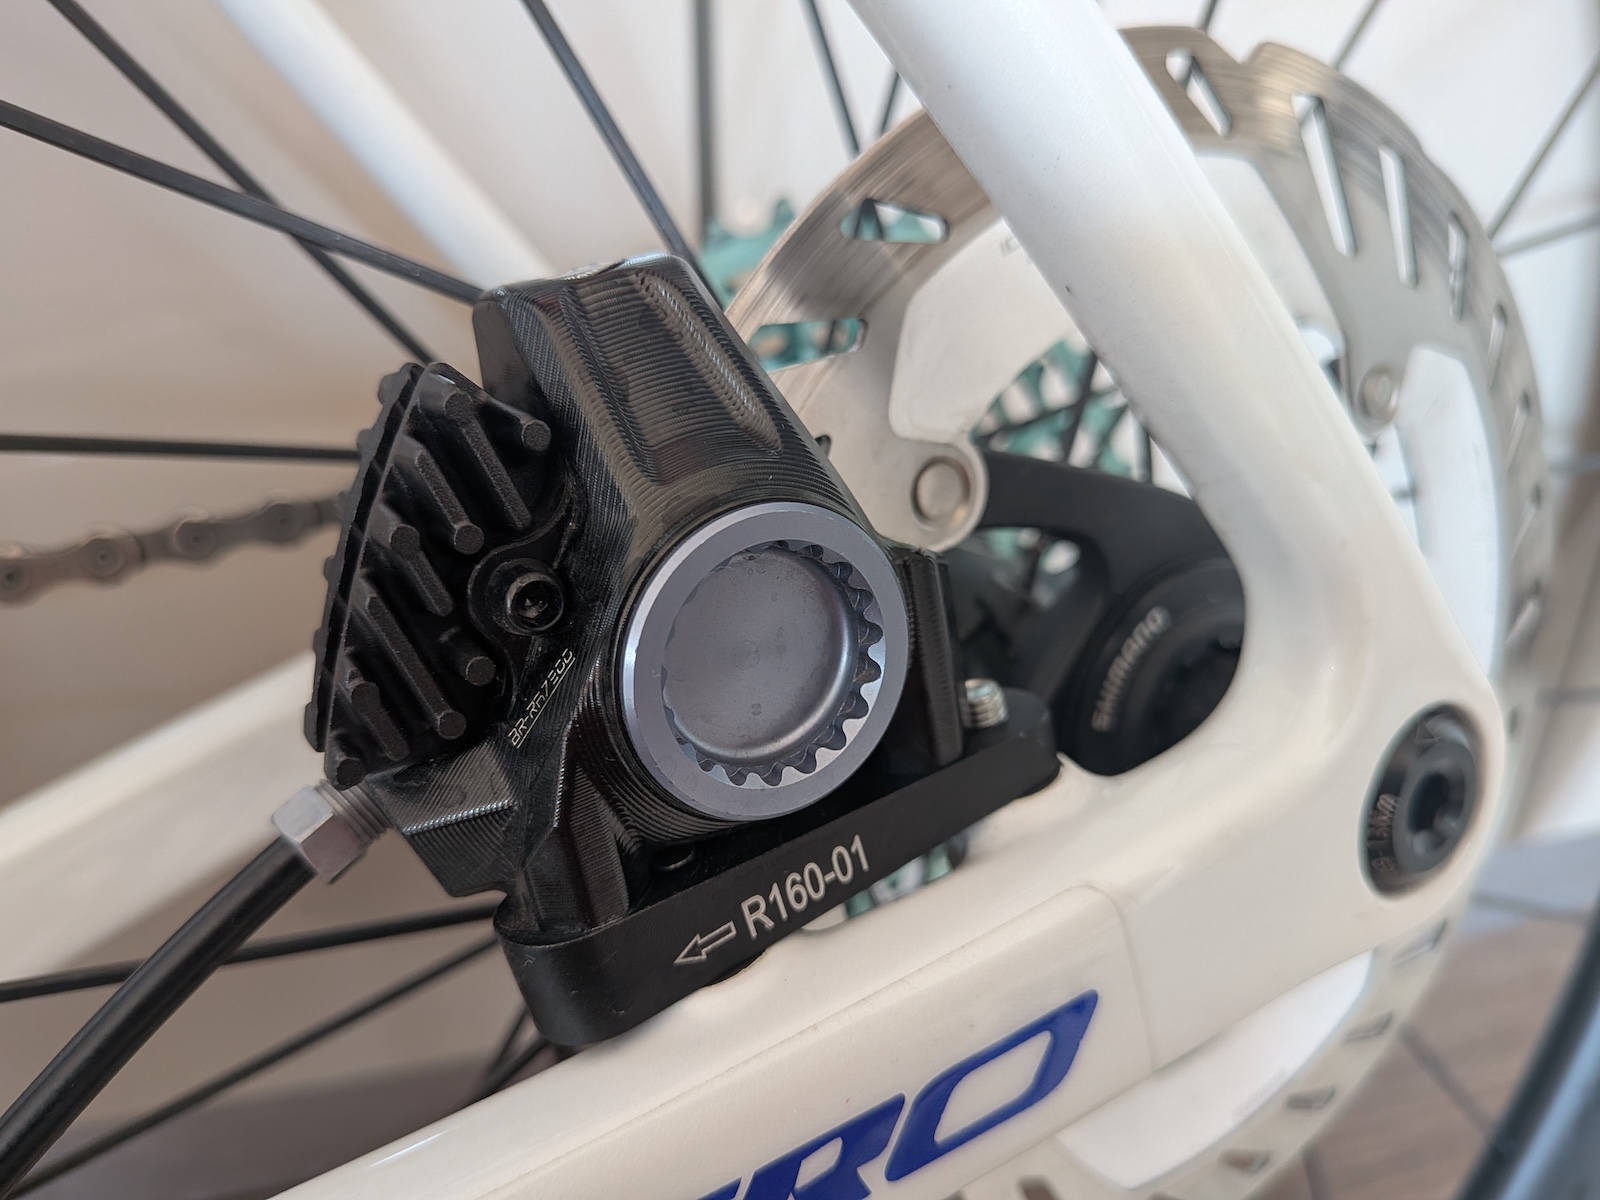
My choice was the Ultegra-level Shimano RT-CL800 rotors and L05A-RF organic finned brake pads. I tested this combination first on the descents of Upper Austria, then in the Balaton Uplands. I didn’t feel a major increase in braking power. However, the brakes respond better to finer lever inputs. Braking is also smoother, and the system is quiet now.
For me, one disadvantage is that I can’t bring the brake levers significantly closer to the handlebar. There is an Allen screw on the back for reach adjustment, but it’s difficult to access and the difference it makes is marginal. So the system is not really ideal for my relatively small hands.
Long-term experiences
At first, the WheelTop EDS TX system and I weren’t exactly best friends. I struggled mostly with the front derailleur, and I have to admit, I was already looking at the 105 Di2. But over time, I managed to set up the system properly. After that, my desire to replace it disappeared.
Despite the limitations of the total capacity, the rear derailleur works fine with the ZRACE Alpha EX cassette and KMC X12 chain. At first, I must have done something wrong, but it’s also possible that the Shimano cassette option added to the app in the meantime was the key. I started the setup again from scratch. This time, using the logic I’m used to with mechanical shifting, I was done in no time.
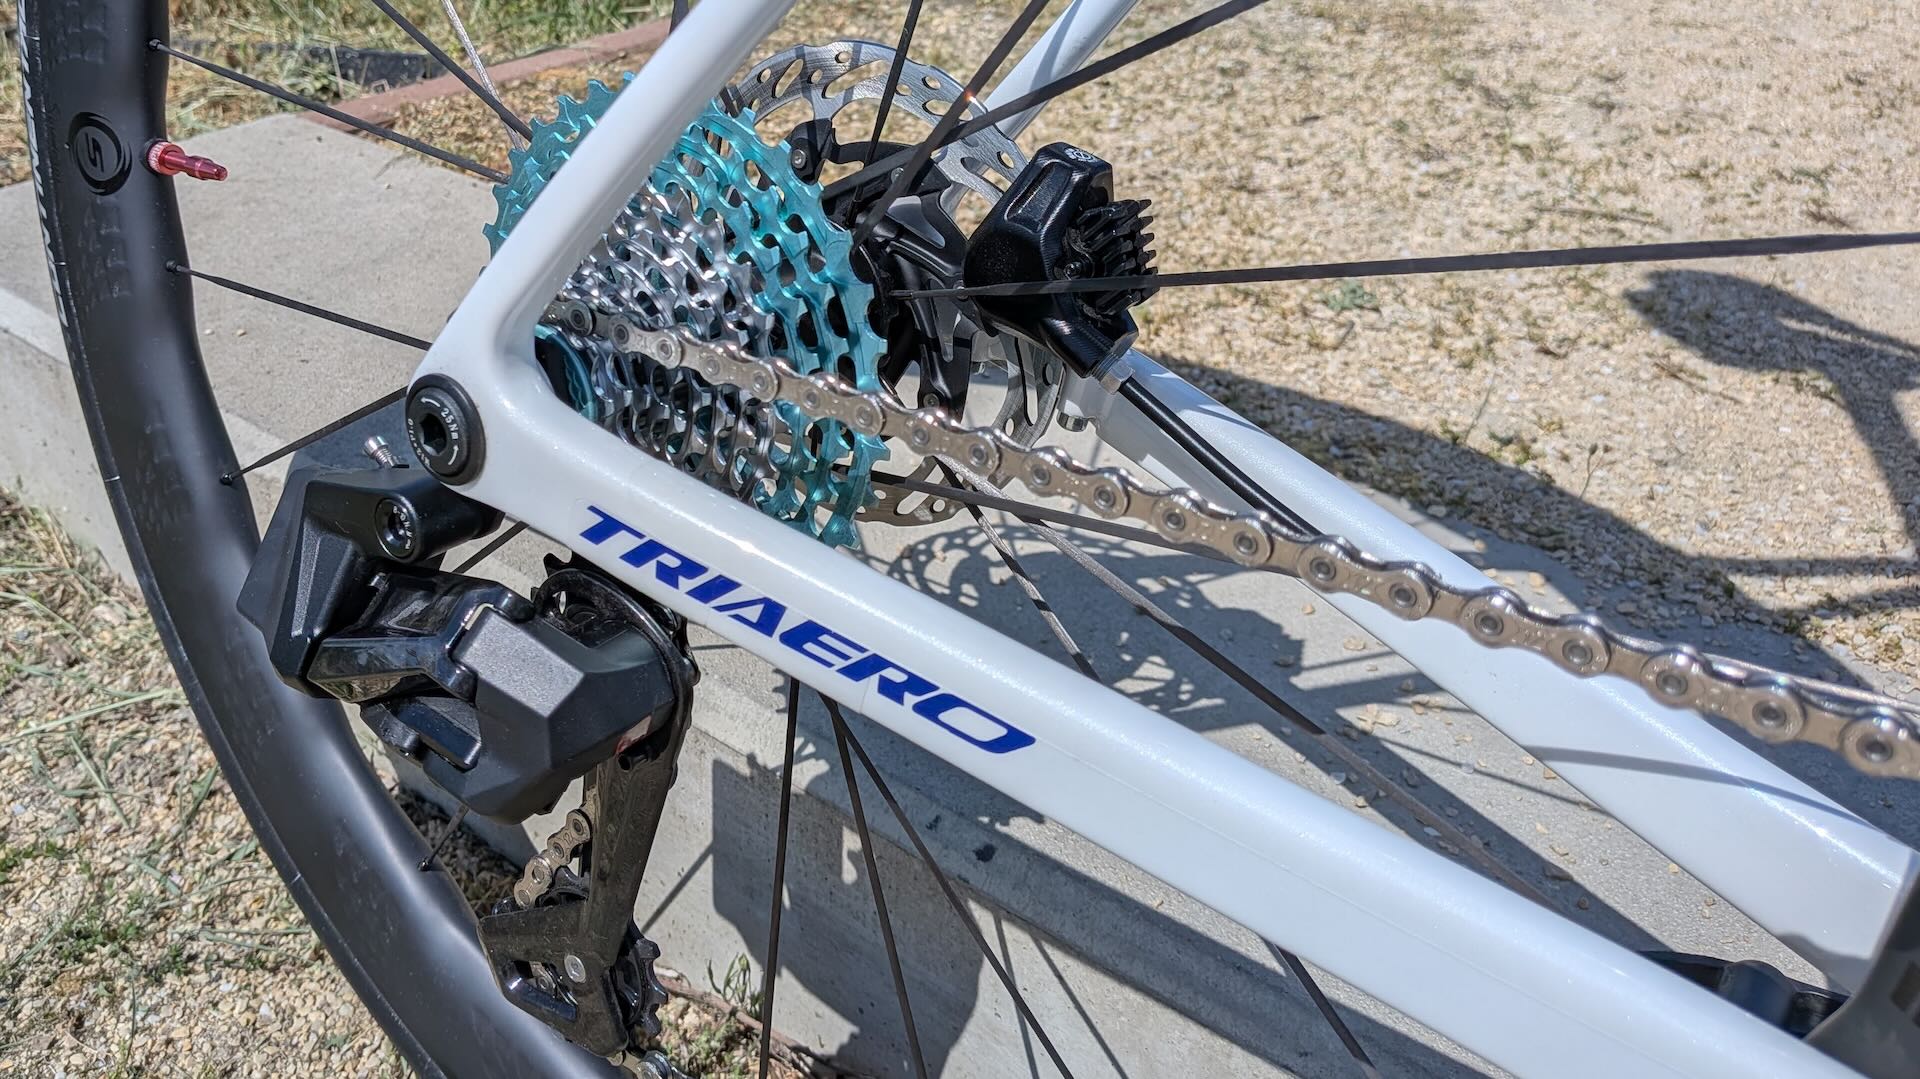
After a few months, the front derailleur unexpectedly decalibrated. This was annoying because the chain rubbed against the cage plate in several gears, especially when climbing. I had to take out my smartphone during the ride and try to adjust it in the app. But in hindsight, I should have reached for my multitool instead and adjusted the Allen screw.
With mechanical front shifting, the way you operate the lever also matters. Here, the derailleur always „does the same thing”. I don’t know if this is why the front derailleur occasionally hesitates a little in both directions, or if it could be fine-tuned further. But most of the time, the front shifts are smooth and work well.
The EDS TX has that „tiptronic” feel, and the reaction time is also fine. It’s nice not having to physically move the derailleurs through the levers, and it’s easy to get used to. On the other hand, some situations can occur that simply don’t happen with mechanical shifting, or would be easy to fix with a cable-operated system.
How good is the battery life?
I haven’t measured how often the two derailleurs need to be recharged. Interestingly, the front derailleur needs charging less often despite its smaller battery. It’s worth checking the battery levels in the app from time to time. When I do maintenance on the bike, I usually put the derailleurs on the charger as well, because if either of them runs out of battery, there is no Plan B.
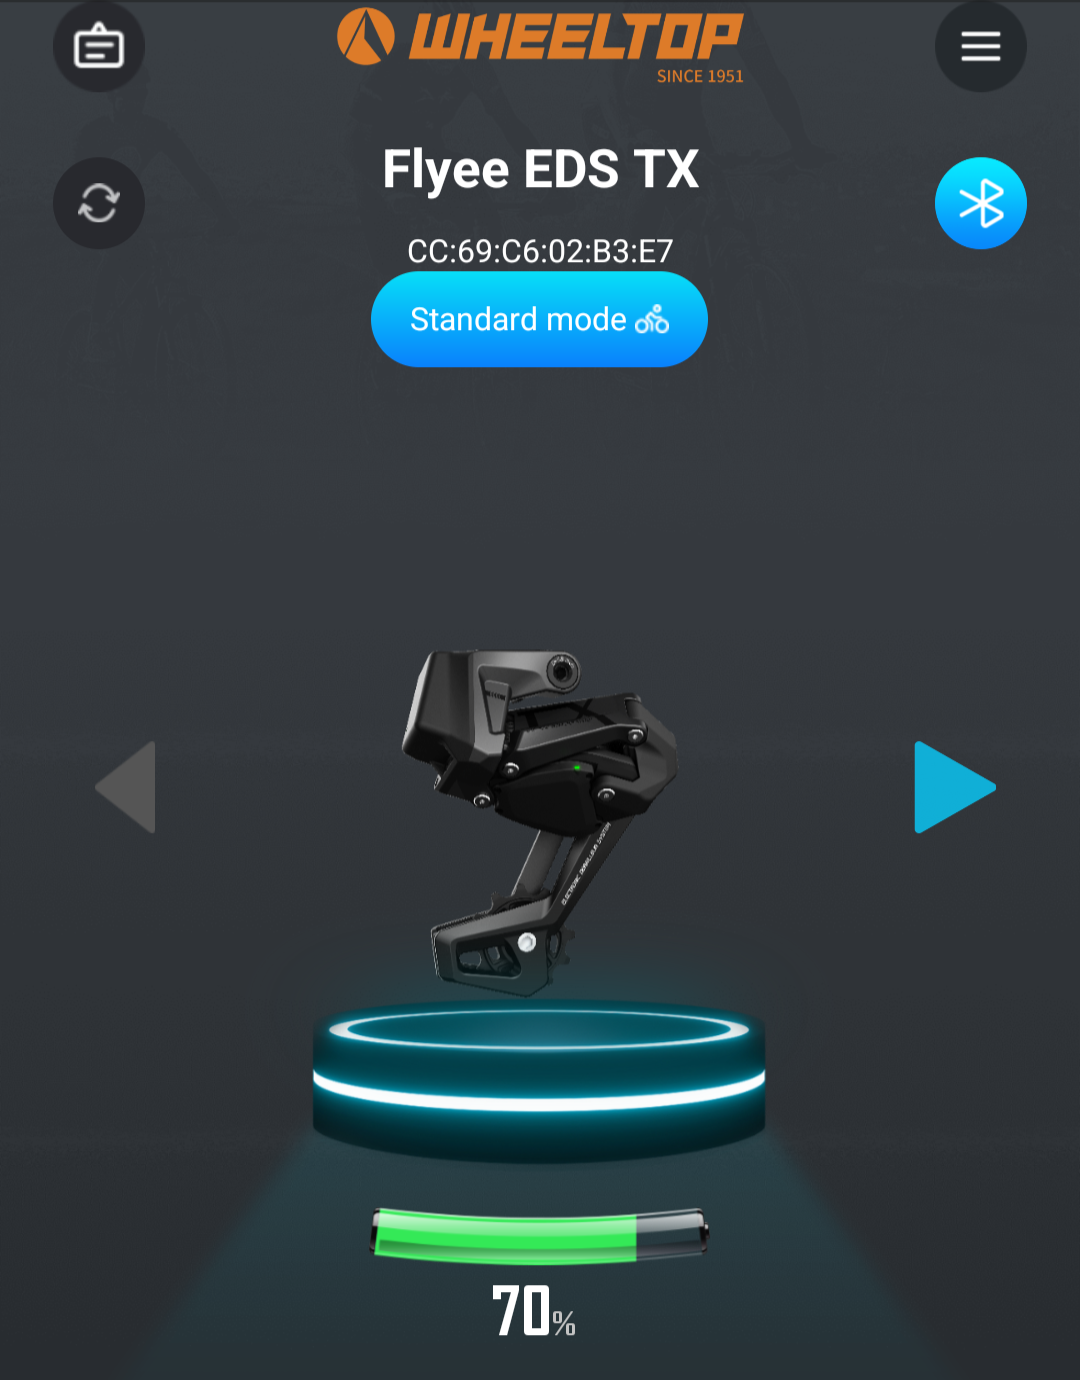
It happened once that I started a ride, but two streets later I had to turn back because the rear derailleur had run out of battery. One reason was that I had been experimenting with Racing Mode. I later checked and found that the main point of Racing Mode is to keep the system awake all the time. This makes it a real battery-eater, so it’s only worth using for racing, naturally with fully charged batteries.
We can charge the derailleurs with the included magnetic USB cables, and I’m sure we can find an old USB adapter at home for them. It’s worth paying attention to the connection, because these connectors are not as precise as the magnetic solution on Apple laptops. I’m not satisfied with the rubber covers over the charging contacts, because I always have to play around with them to get them back into place.
The two shift/brake levers use one CR2032 battery each, and we can see their current voltage in the app. The factory batteries weren’t the best quality, so I replaced them with branded ones. It’s also not a bad idea to keep a spare battery in the saddle bag.
Verdict
It wasn’t easy to get to this point. The setup is challenging at first. But once we get through it, we end up with a well-usable electronic shifting system for significantly less money than a 105 Di2 or Rival AXS. Whether the lower price is worth the compromises mentioned above is something everyone has to decide for themselves.
But the WheelTop EDS TX also offers an electronic shifting upgrade option for rim brake road bikes, which is quite rare. The TT version is also a reasonable and affordable option for triathletes or road cyclists who want a second, dedicated time trial bike.
If somebody wants a „plug & play” electronic shifting system, I recommend sticking with the proven S-letter alternatives. But if somebody is open to a challenge, I can recommend this system with confidence. After 2,000 km, I haven’t experienced anything that would prevent the system from being used normally.
You can find more information about WheelTop electric shifters by clicking here.
A New Challenger in Electronic Shifting: Inside the WheelTop EDS Platform and TX Road Groupset

